PicBucket User Manual: The Complete Guide for Computer & Mobile
1. Introduction: The Start of Smart Photo Management, PicBucket
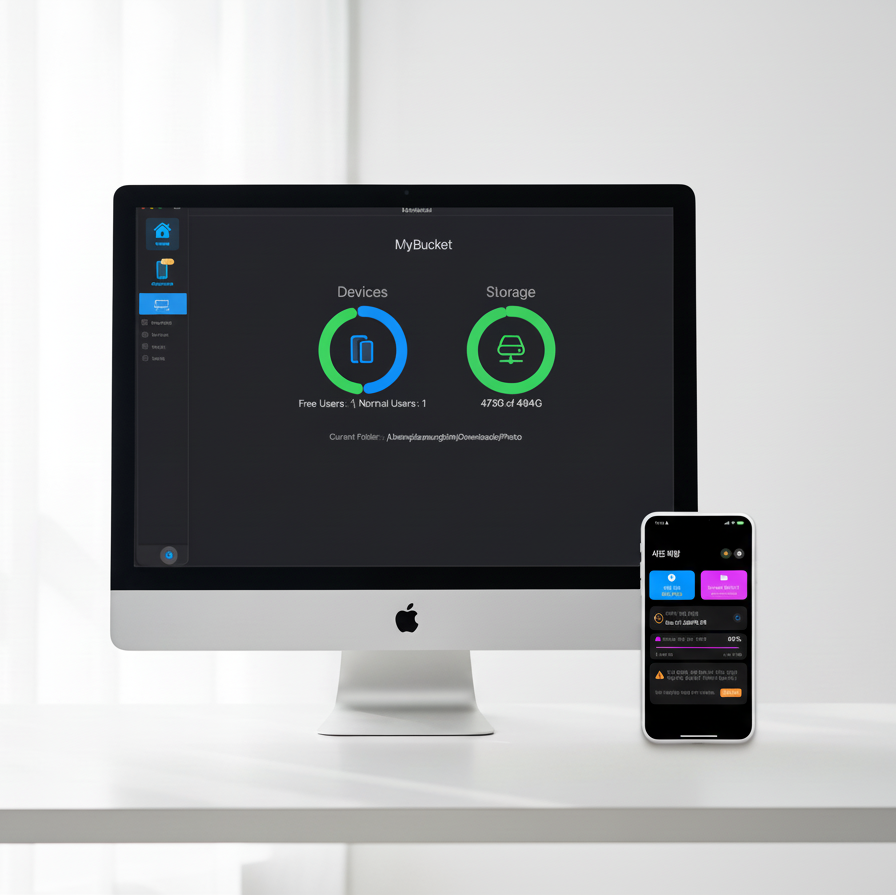
Modern life is filled with vast amounts of digital photos and video data. To safely store these precious records while being able to check them immediately when needed, organic connection between devices is essential. PicBucket is an innovative solution that integrates your mobile device and Computer into a single smart ecosystem, maximizing data management efficiency and providing strategic convenience.
PicBucket offers three key values:
- Easy Backup: Transfer photos from mobile to Computer with a single click over the same network without complex cable connections.
- Device Synchronization: Immediately view data backed up from mobile on Computer and utilize a systematic storage system sorted by year.
- User-Friendly Interface: Provides a clean environment where users without technical background can intuitively control functions.
This guide provides detailed instructions from app installation to practical usage so you can utilize 100% of PicBucket's potential. Let's look at the first step, how to download the app.
2. Step 0: App Download & Installation
For PicBucket to work smoothly, the program must be installed on both the mobile device and the Computer (Bucket) where photos will be saved.
2.1 Mobile App Installation (iOS / Android)
Search for 'PicBucket' in your smartphone's store and proceed with installation. Alternatively, you can use the QR codes below.
Mobile


2.2 Windows/Mac App Installation
Install the Windows/Mac app that will act as the 'Bucket', the final destination for your data.
Windows/Mac
App Store
Direct Download
Once installation is complete, let's proceed with the initial setup process of the mobile app for connection.
3. Step 1: PicBucket Mobile App Initial Setup Guide
When you run the app for the first time, a 6-step setup for security and device identification proceeds. Each permission setting is an important process to safely link Computer and mobile.
3.1 Initial Permission Settings (6-Step System)
3.1.1 Welcome Screen
Check the welcome message that appears when launching the app and click the 'Next' button at the bottom.
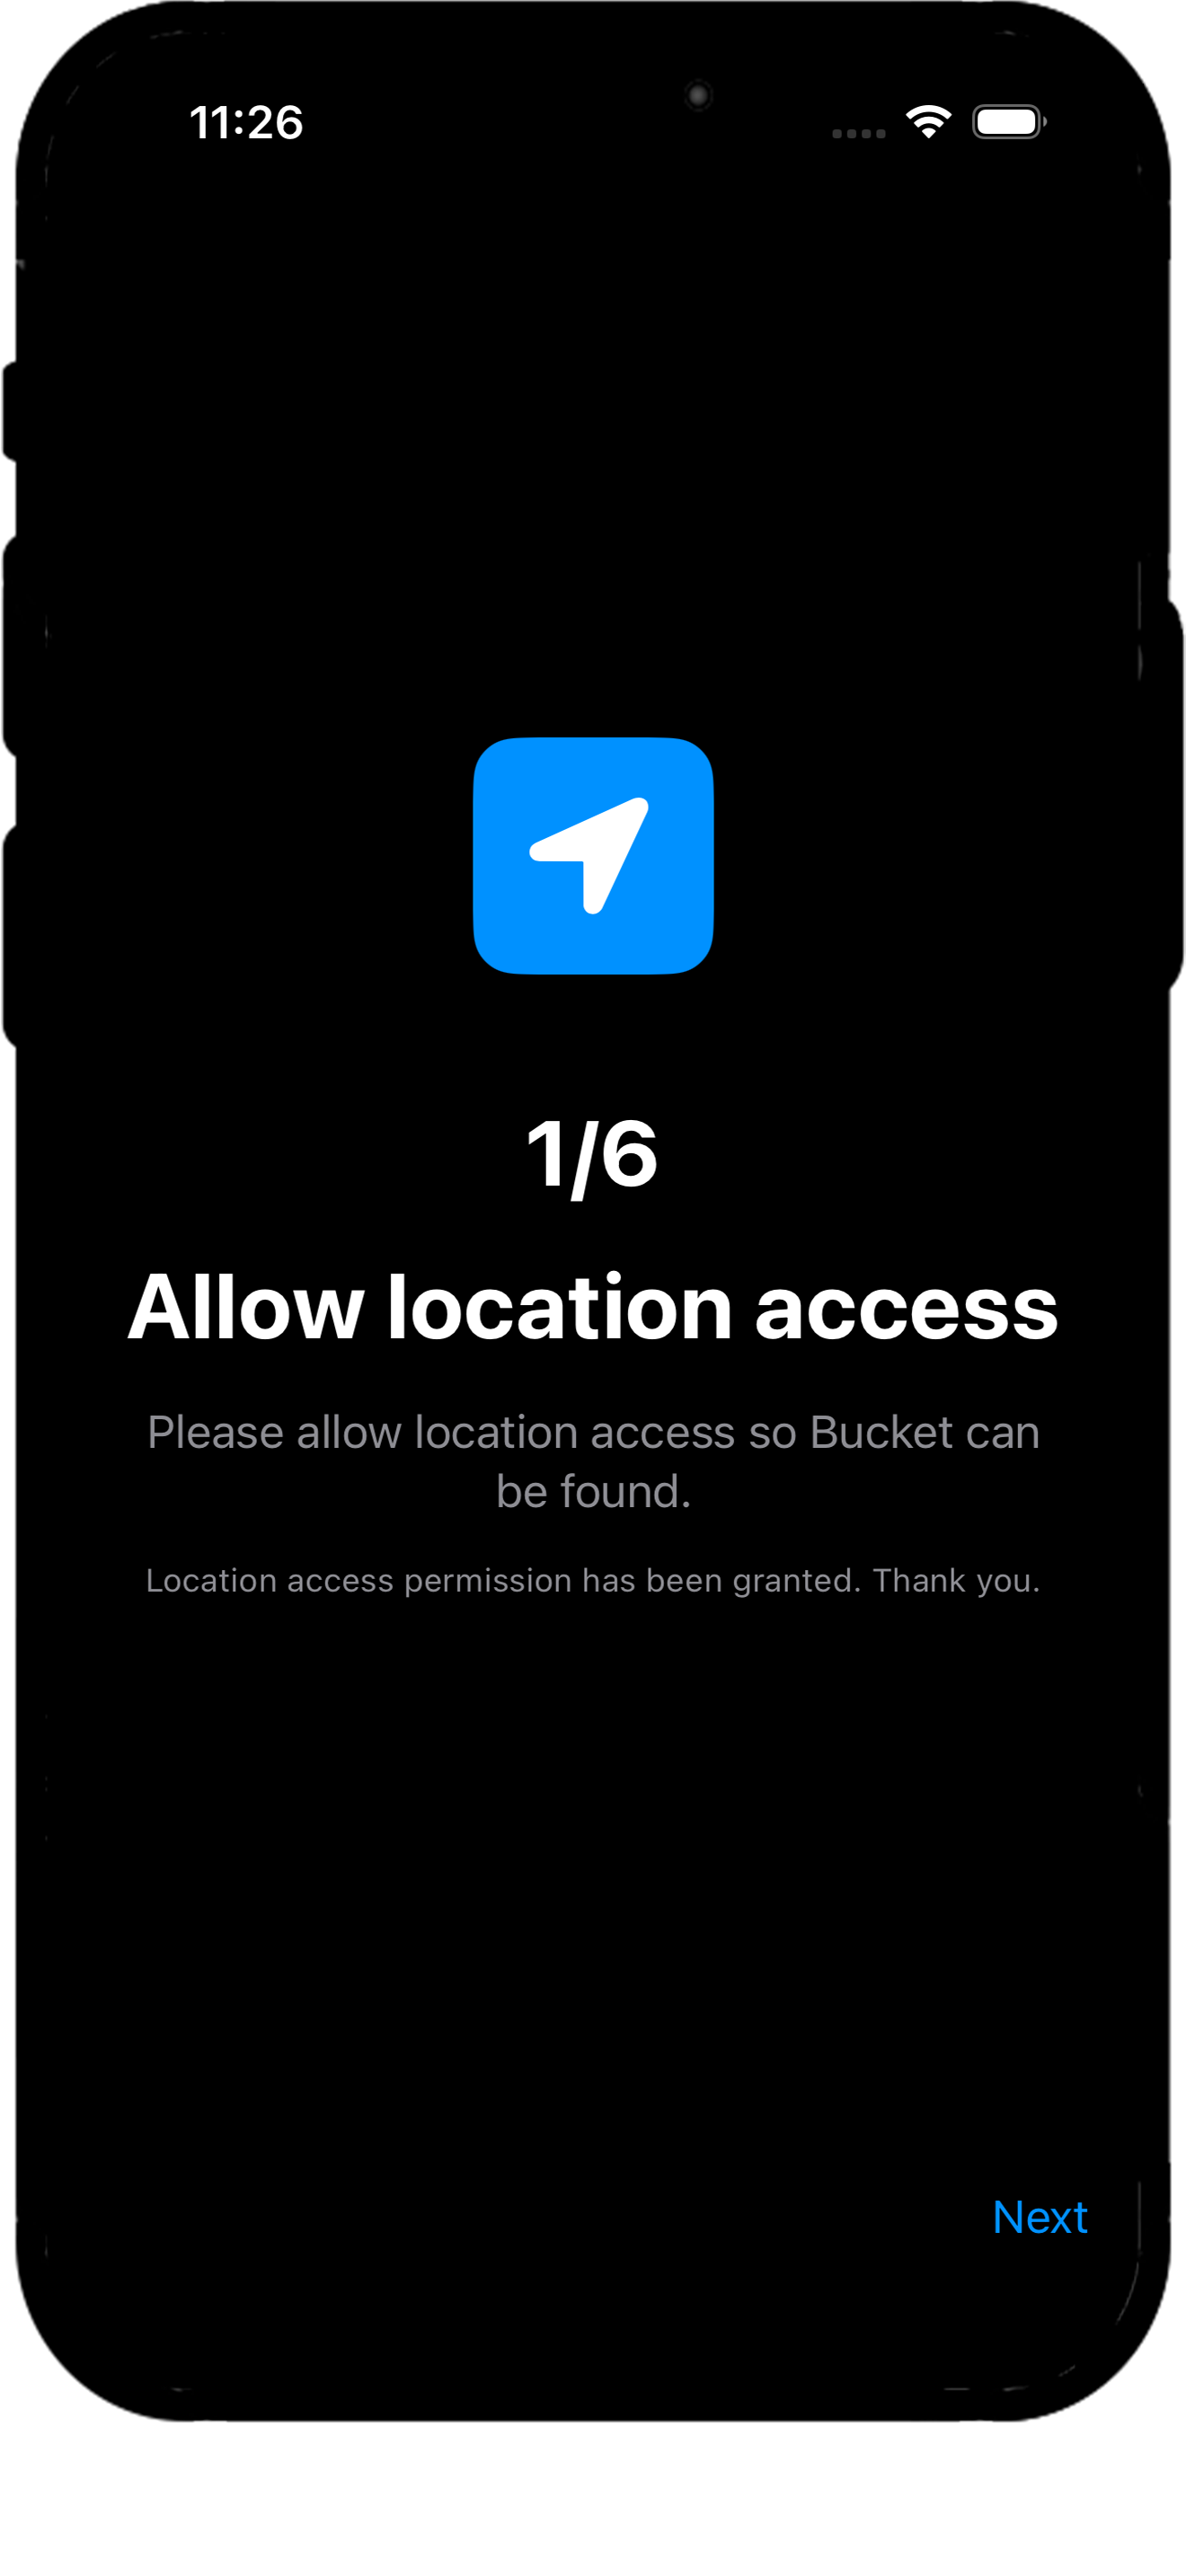
3.1.2 Allow Location Access (1/6)
This step is necessary to search for nearby PCs/Macs (Buckets).
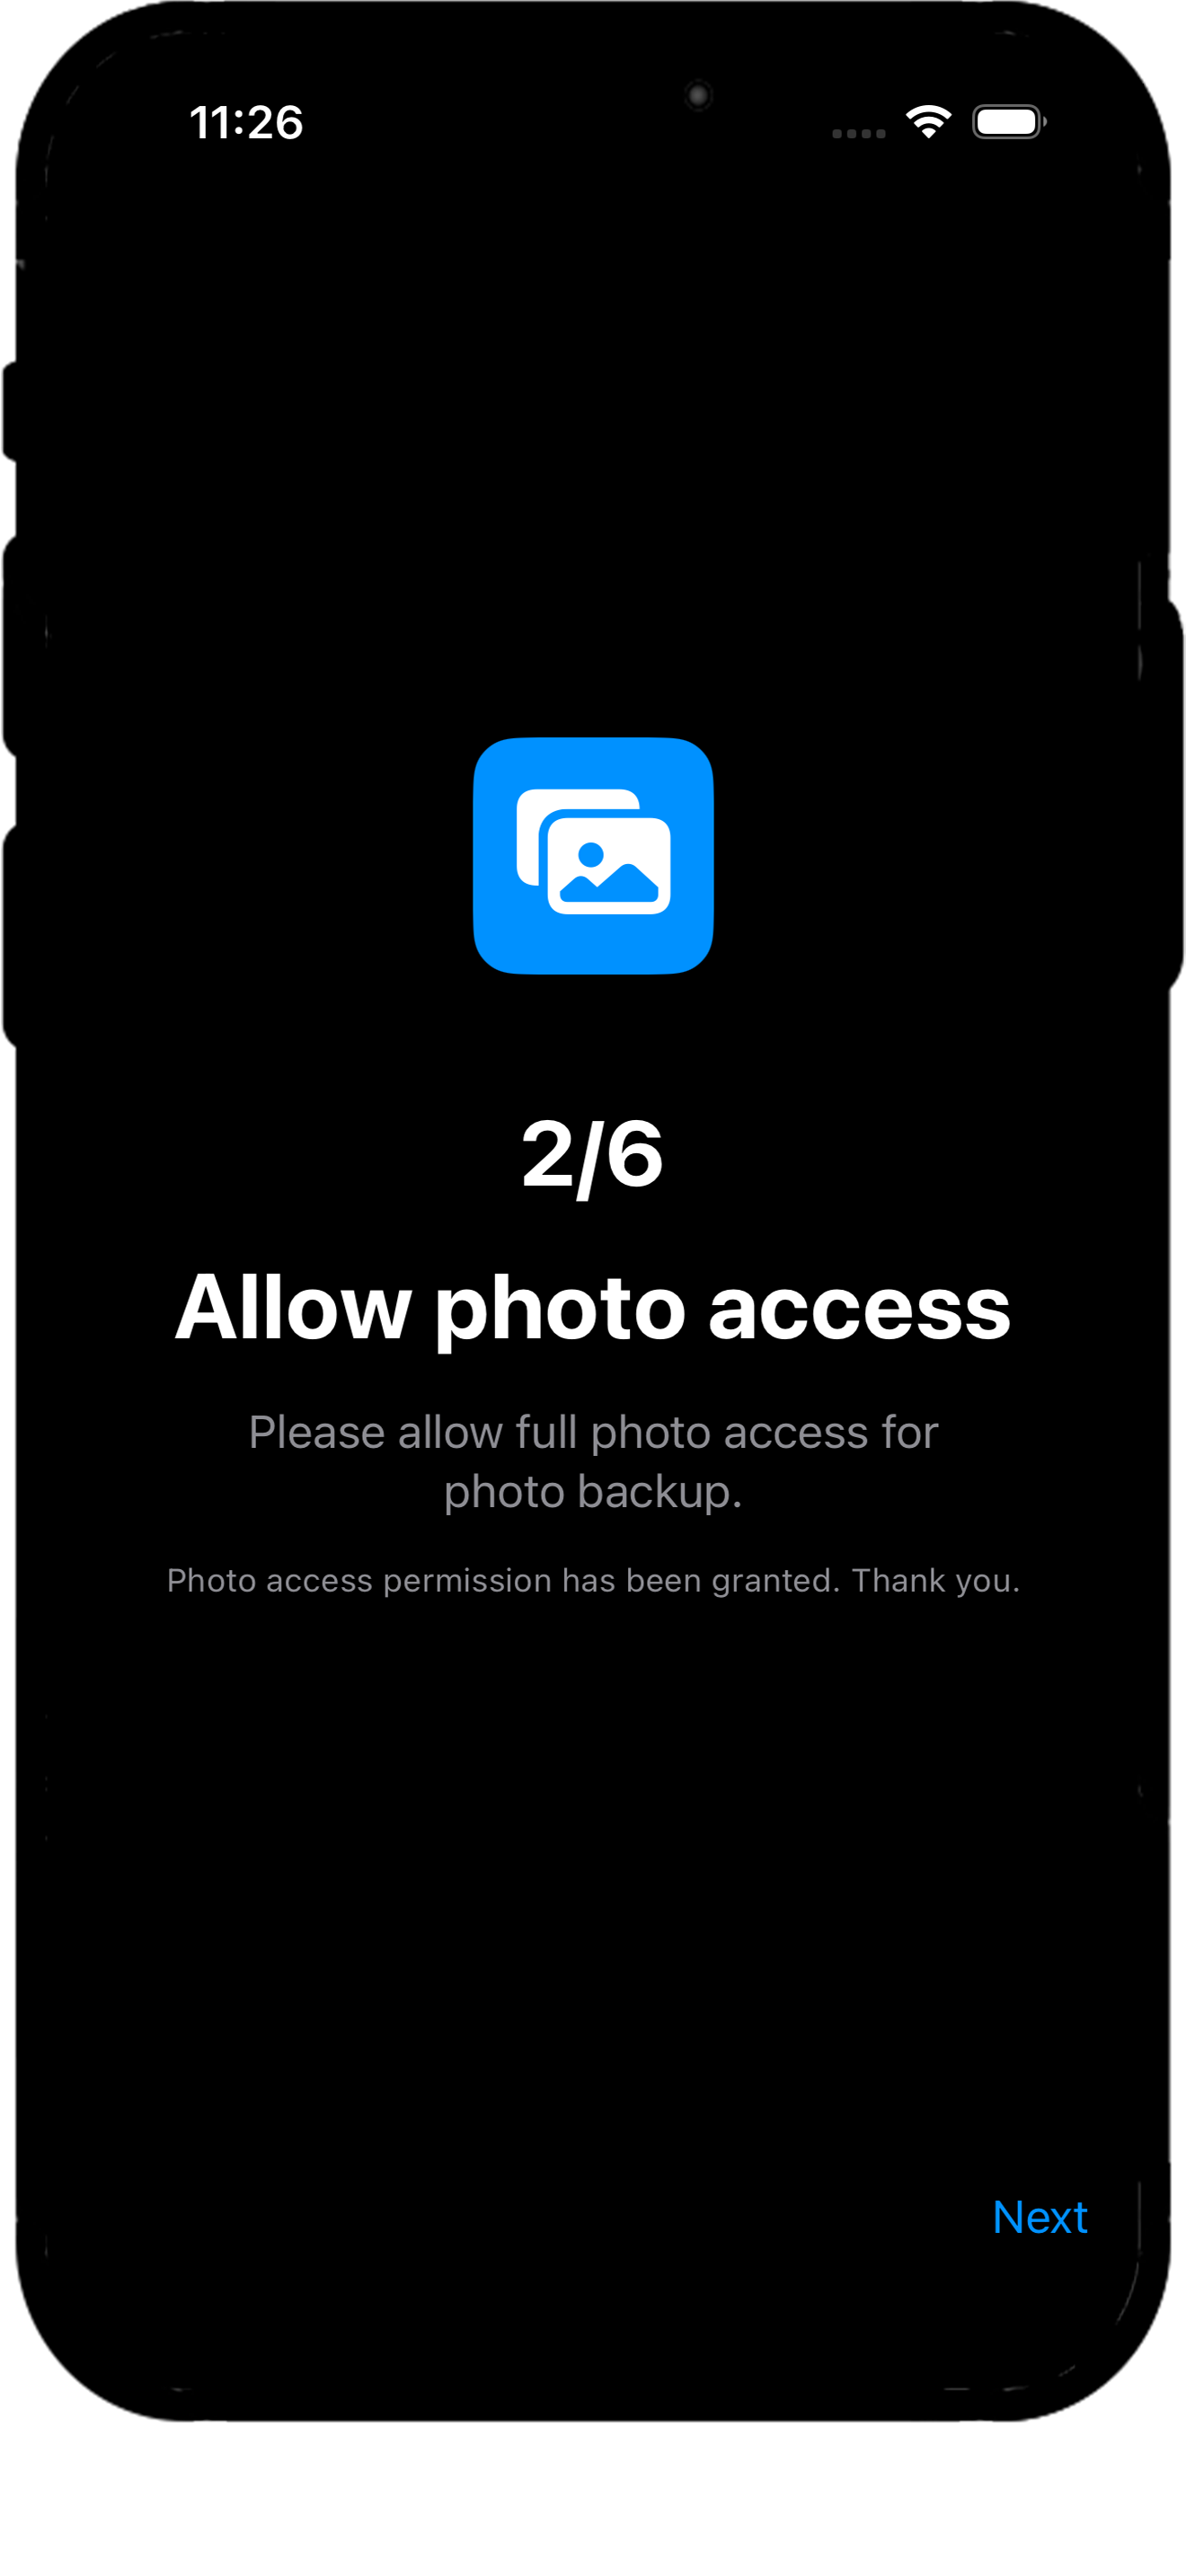
3.1.3 Allow Photo Access (2/6)
'Access to all photos' is required for backup. Press 'Next' to approve.
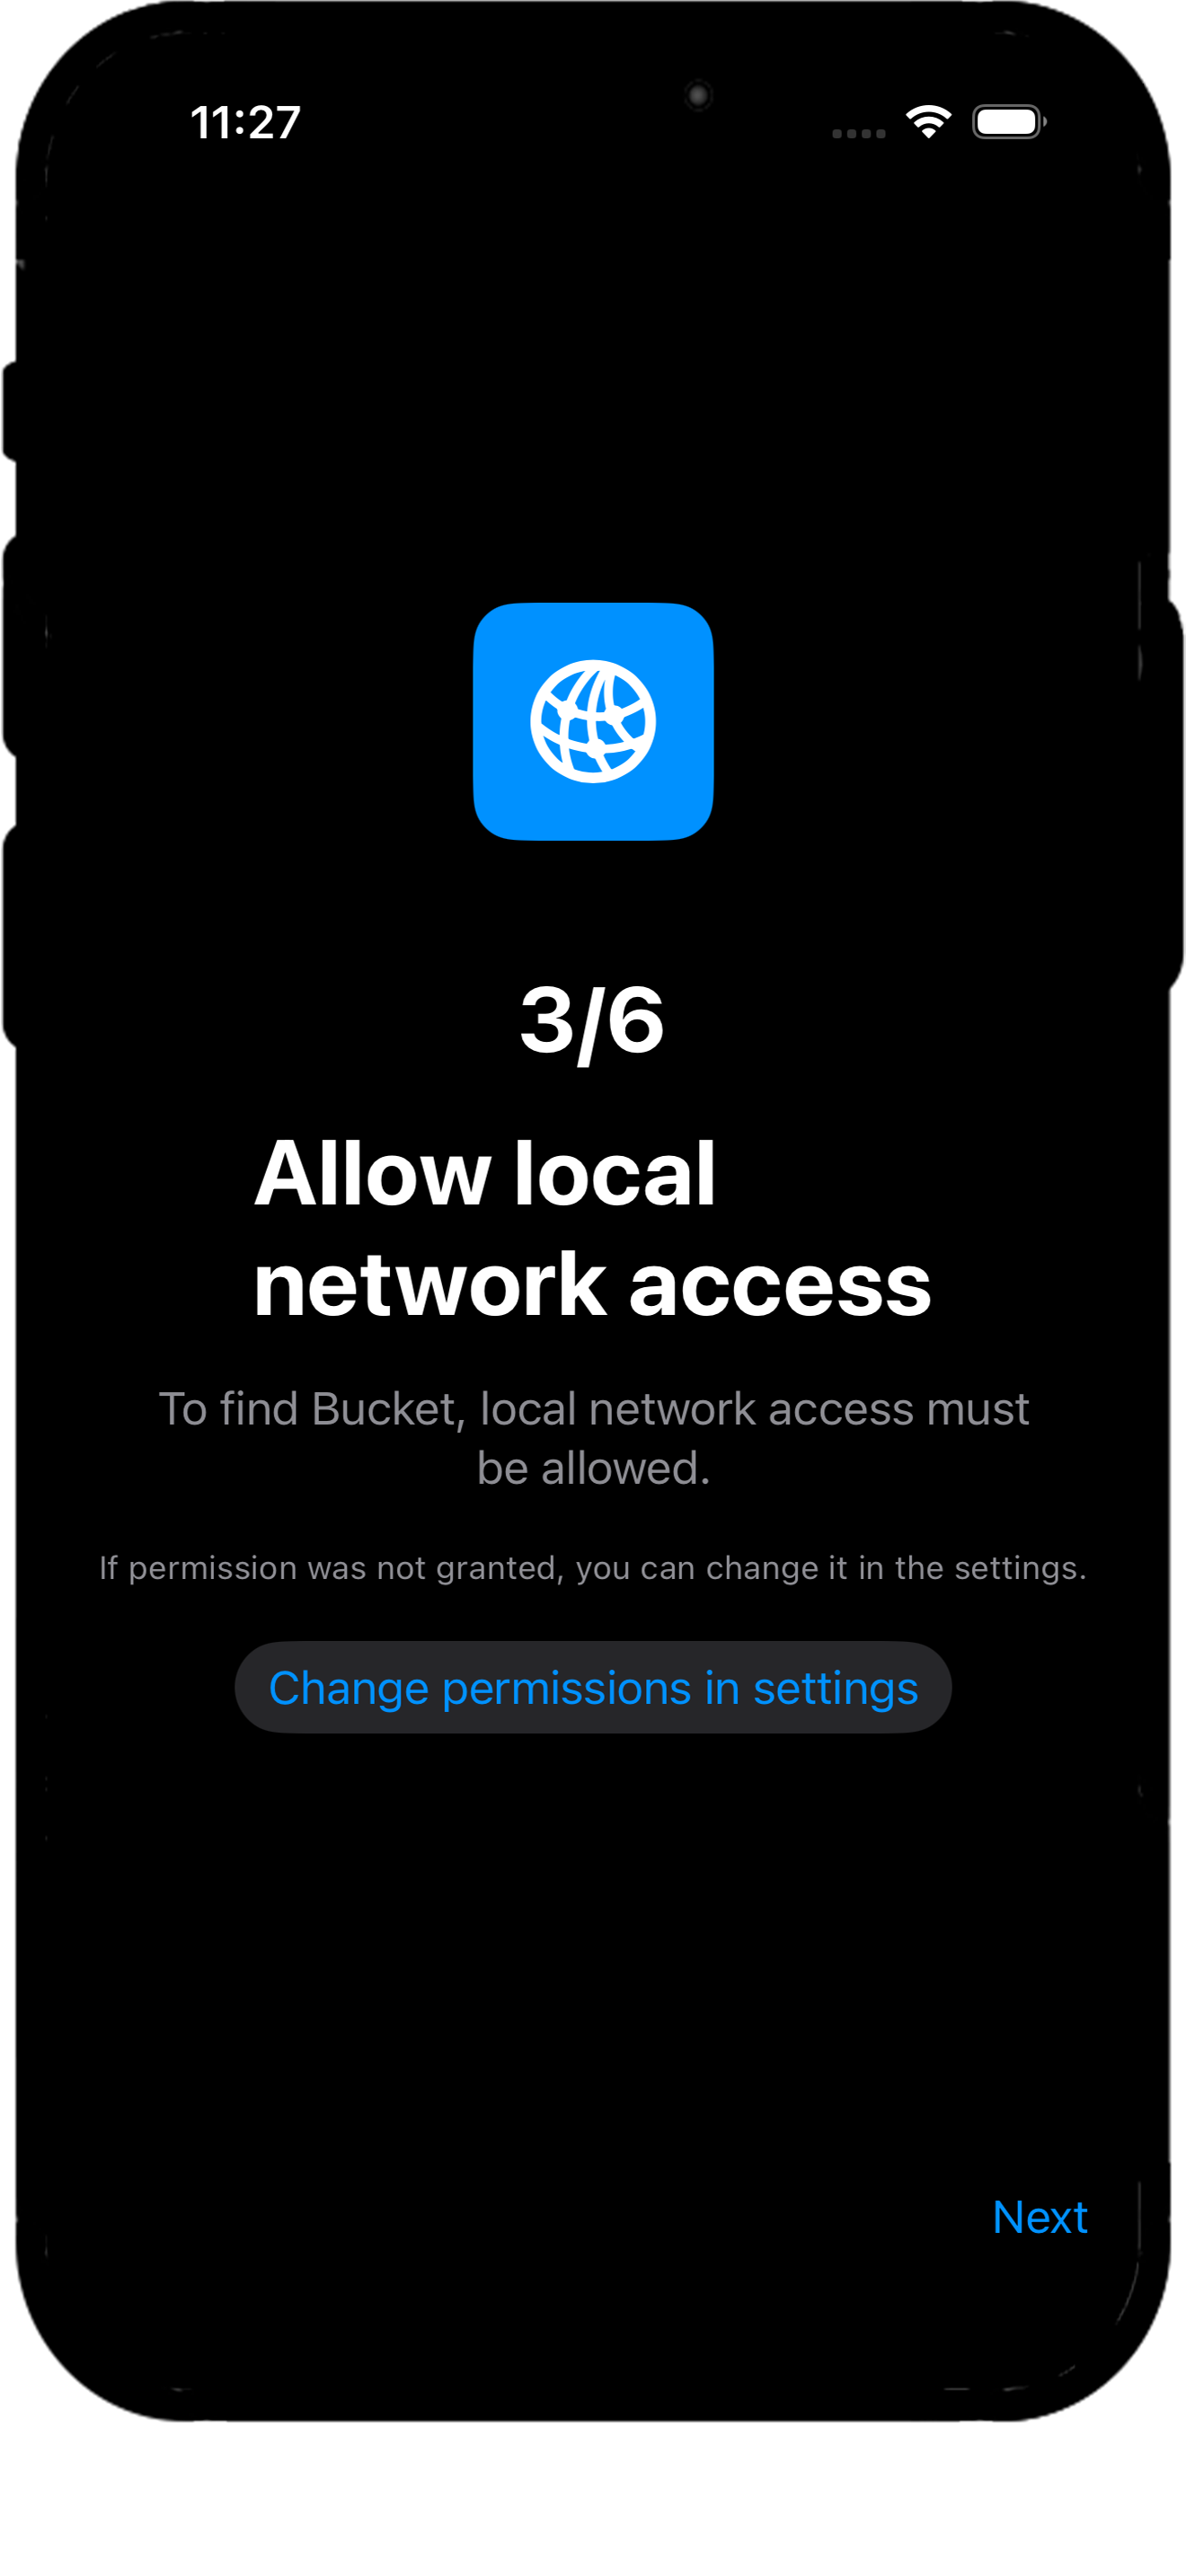
3.1.4 Allow Local Network Access (3/6)
This is a key permission to communicate with PCs/Macs on the same Wi-Fi. Check permission in settings.
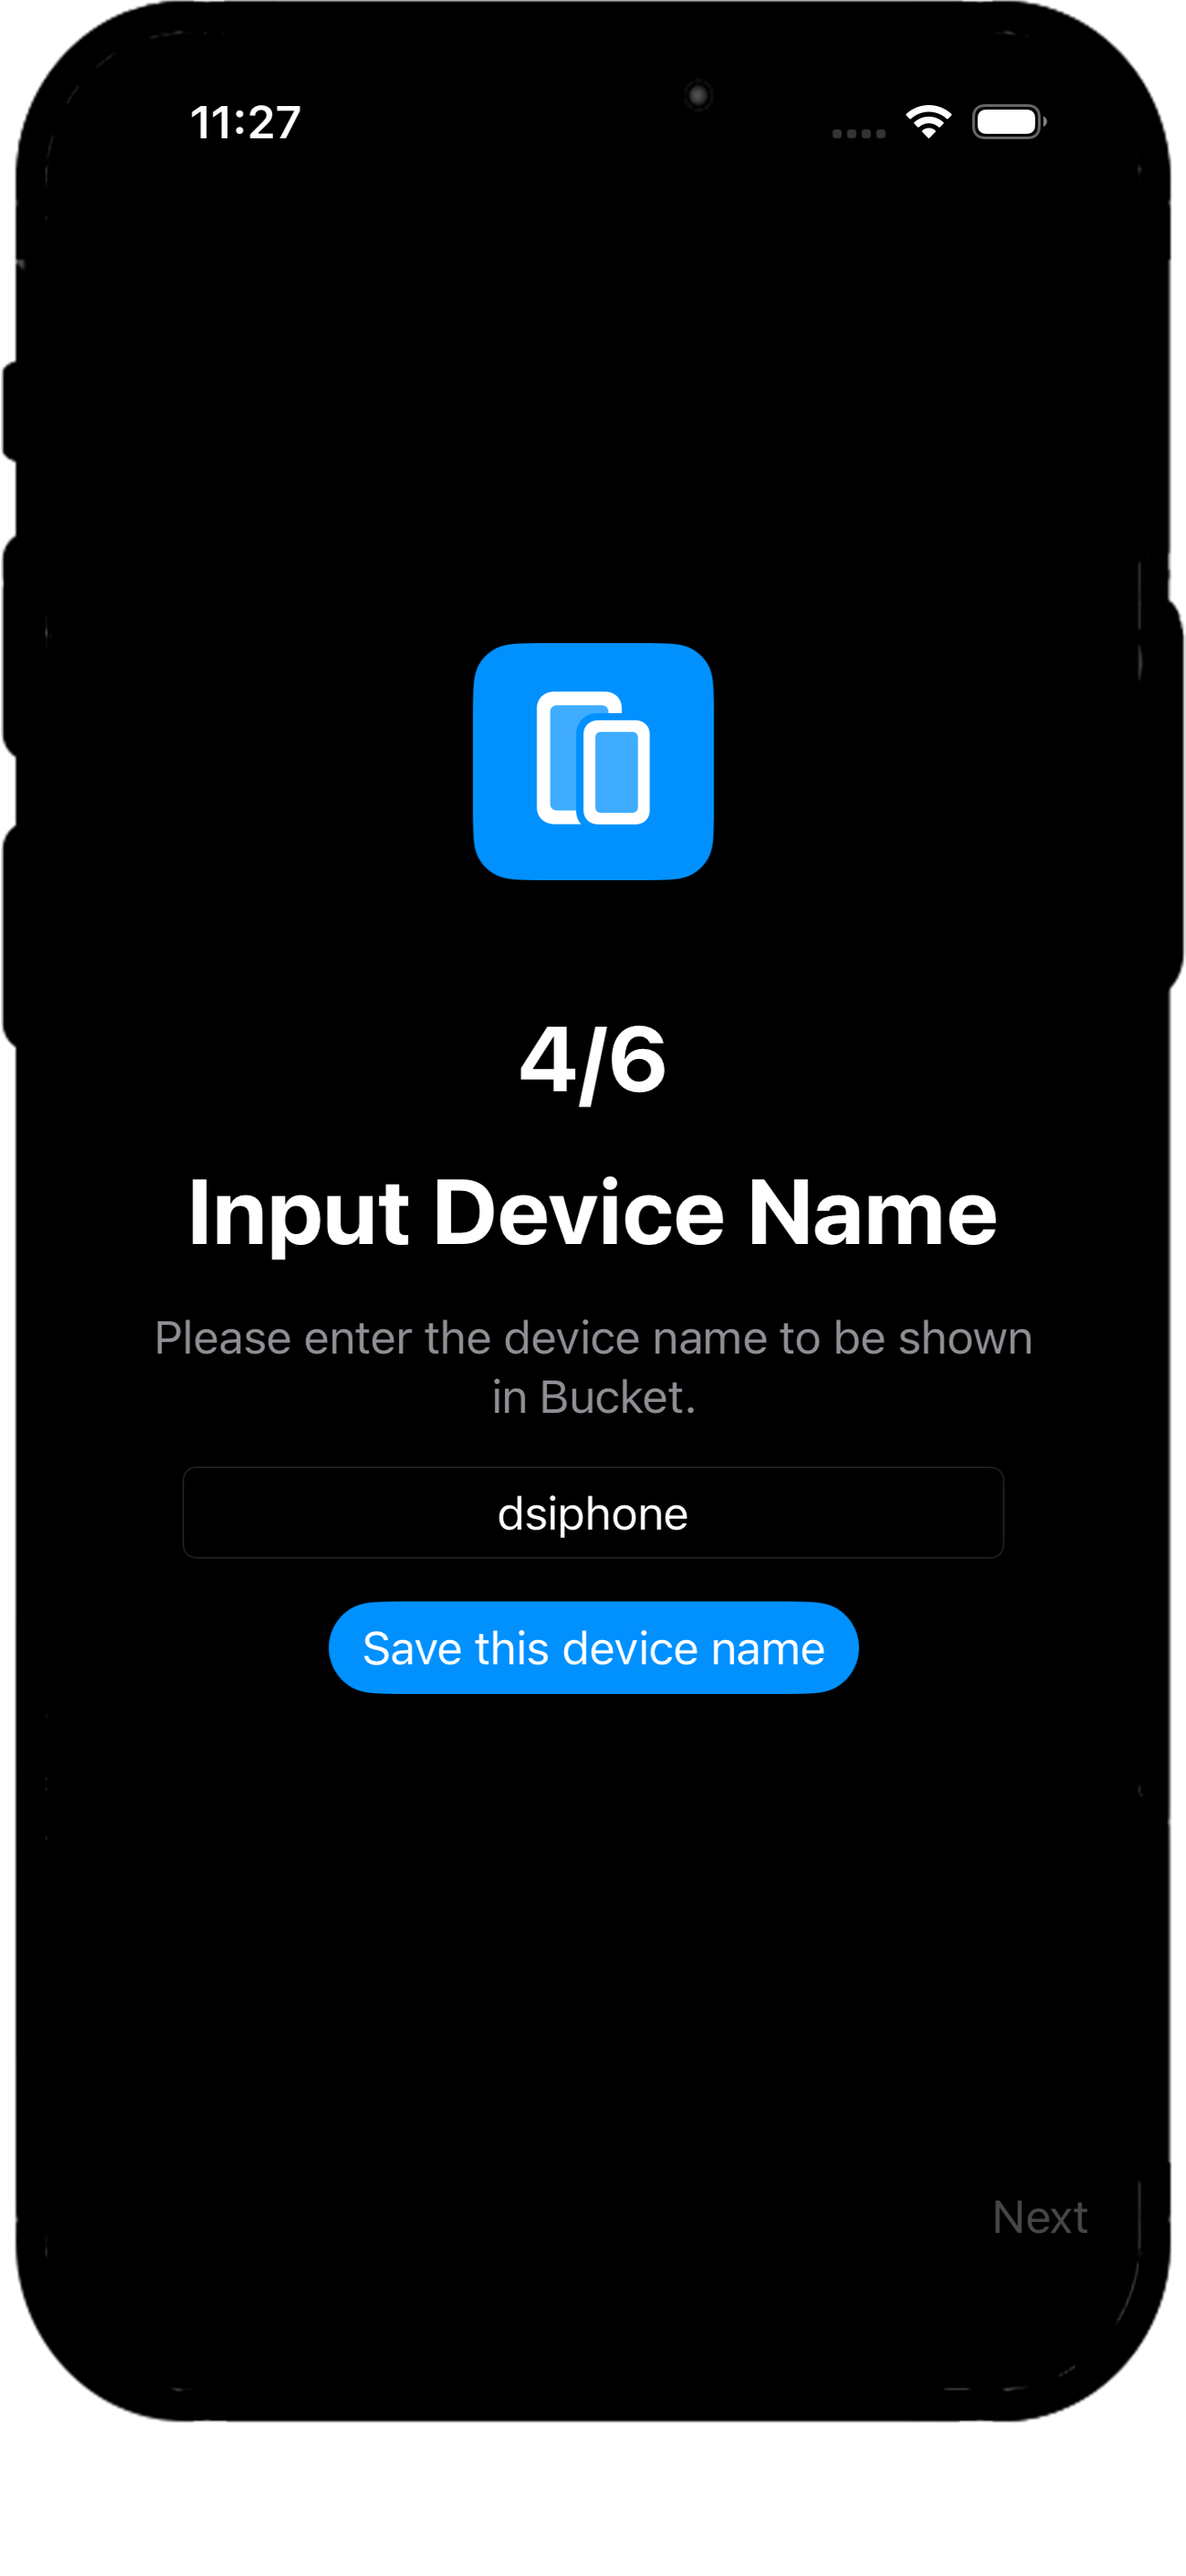
3.1.5 Enter Device Name (4/6)
Enter a name to identify your mobile on Computer. (e.g., dsiphone, Myiphone, etc.)
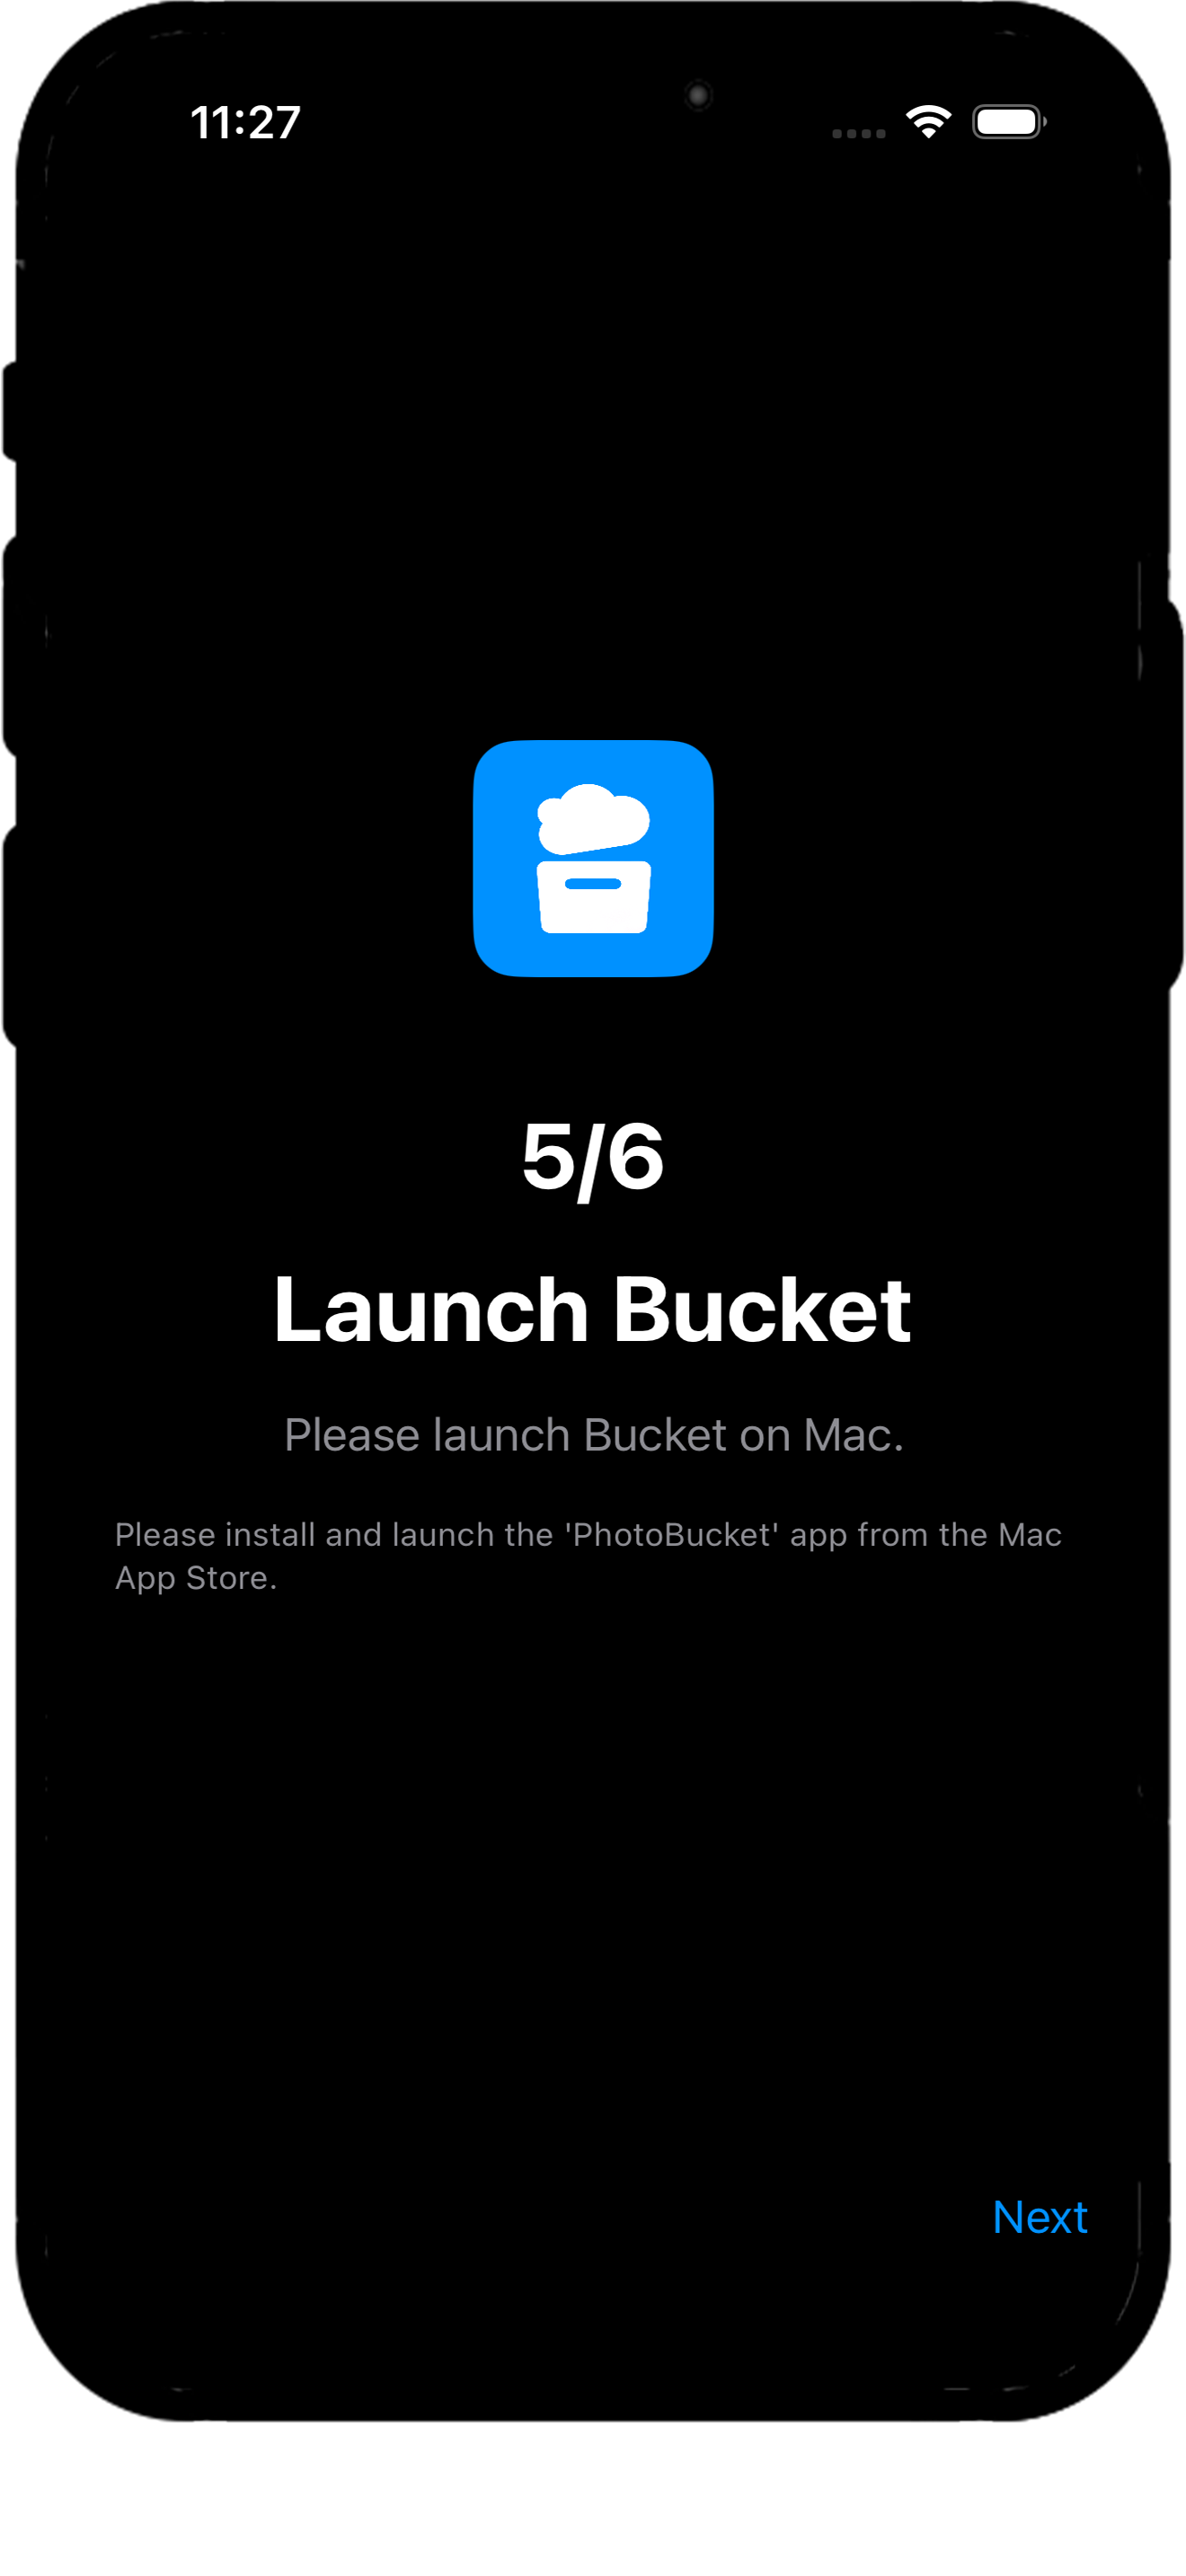
3.1.6 Confirm Computer App Launch (5/6)
The PicBucket app must be currently running on the Computer you want to connect to.
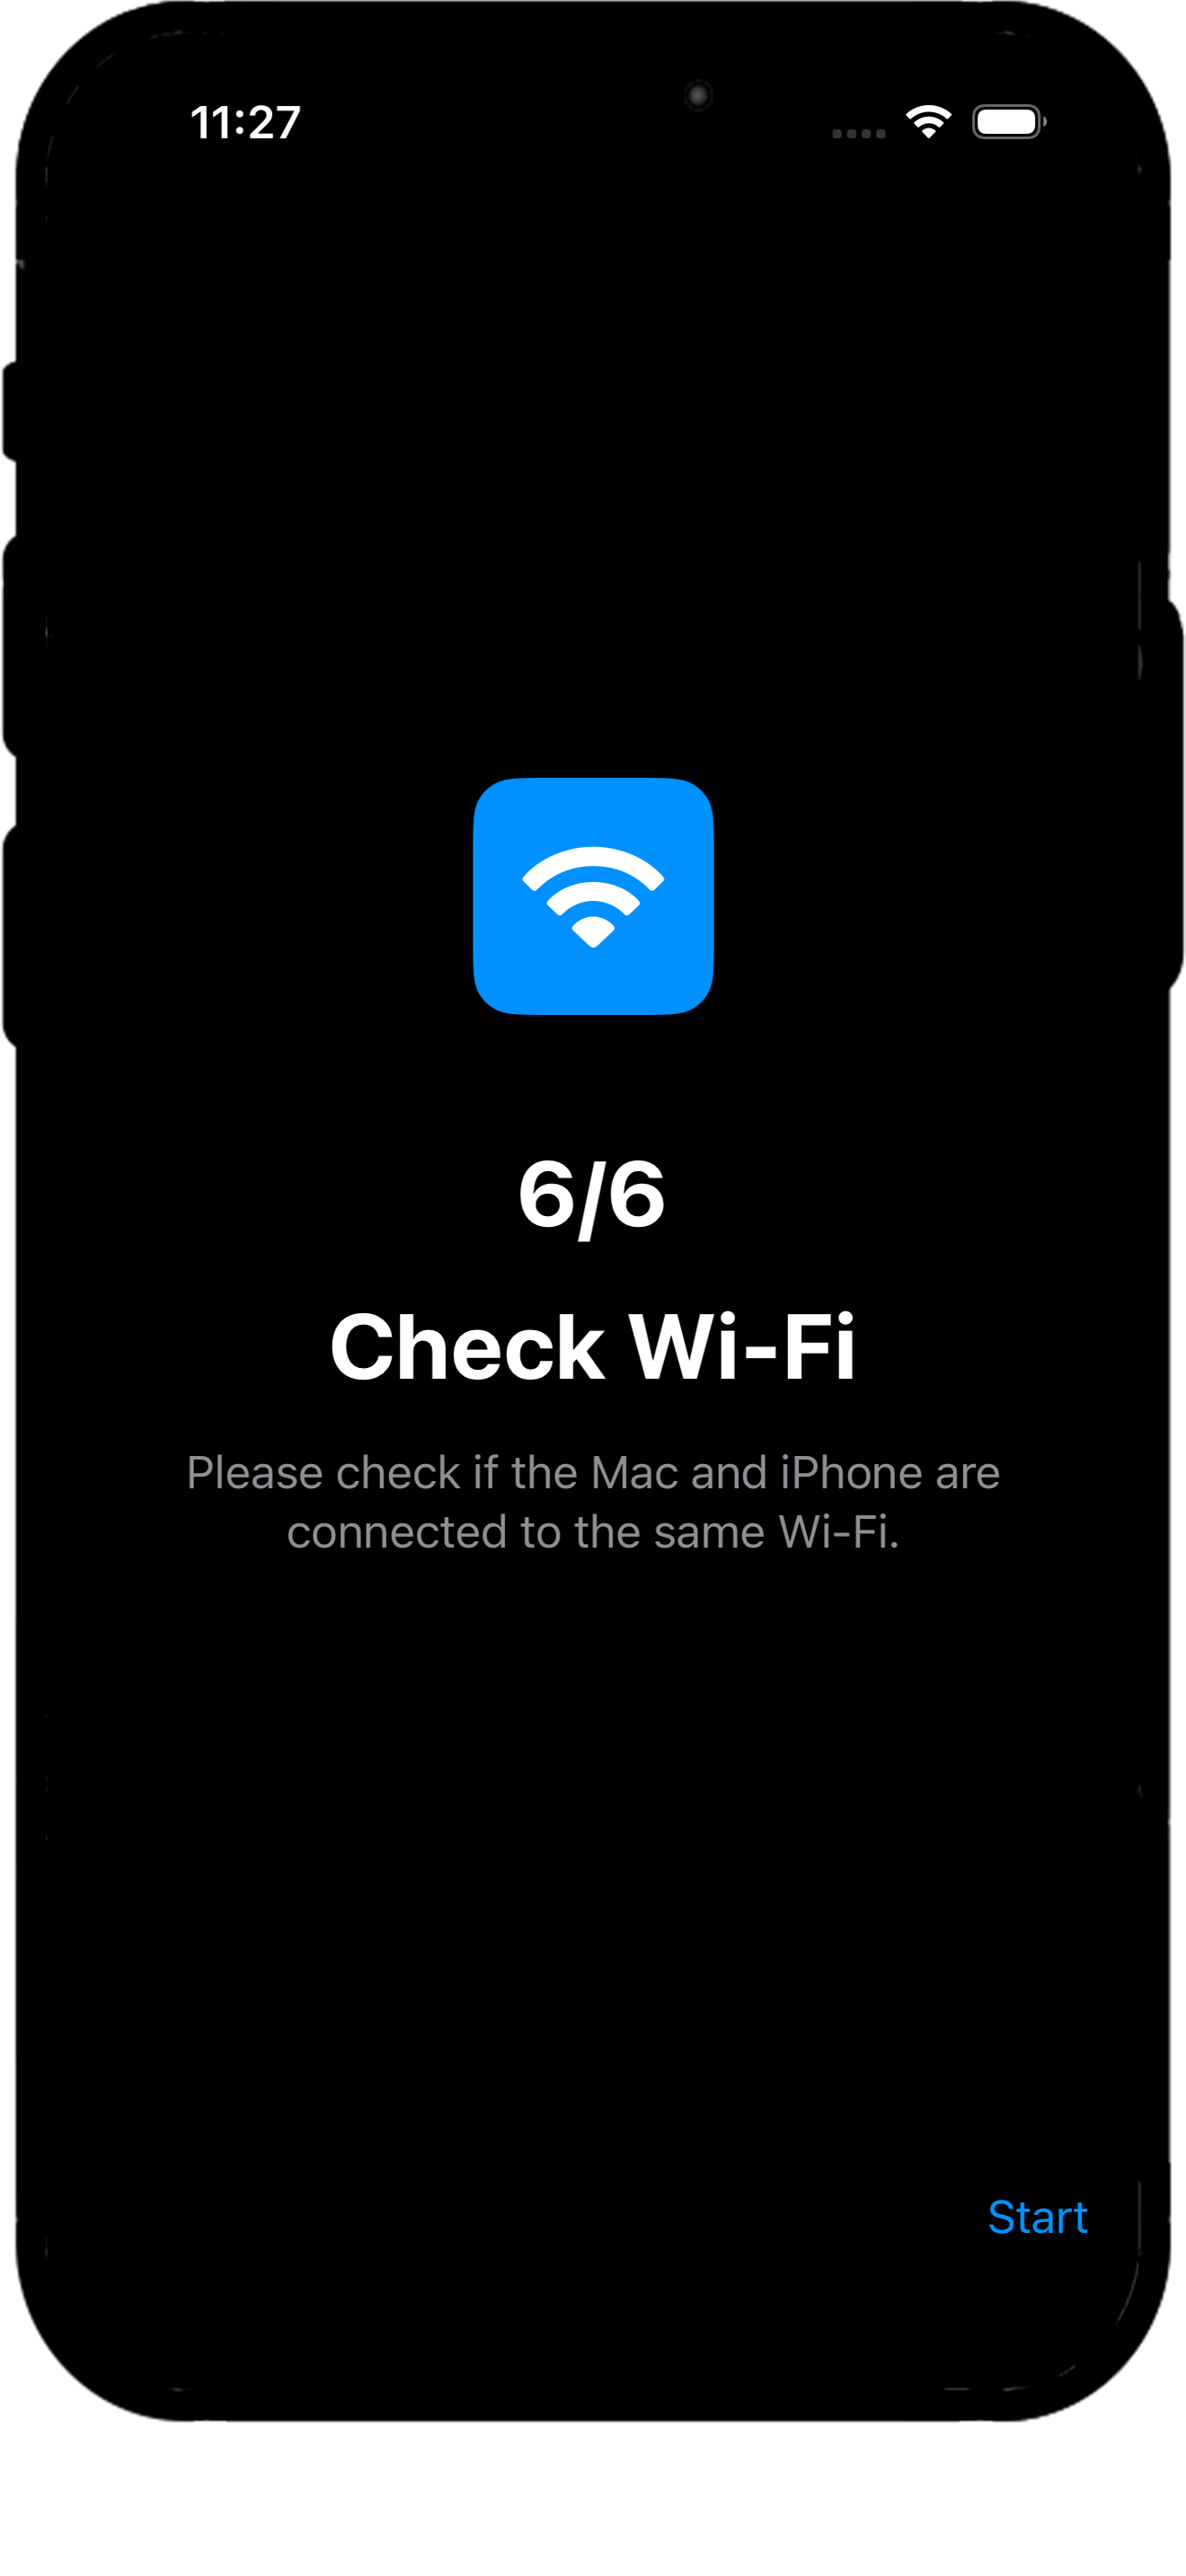
3.1.7 Check Wi-Fi Connection (6/6)
Make sure your Computer and mobile are connected to the same Wi-Fi router, then press 'Start'.
4. Step 2: PicBucket for Windows/Mac Initial Setup
The Windows/Mac app is the destination where all photos gather. This step involves specifying the save path and setting the name to be searched from mobile.
4.1 Storage (Bucket) Setup
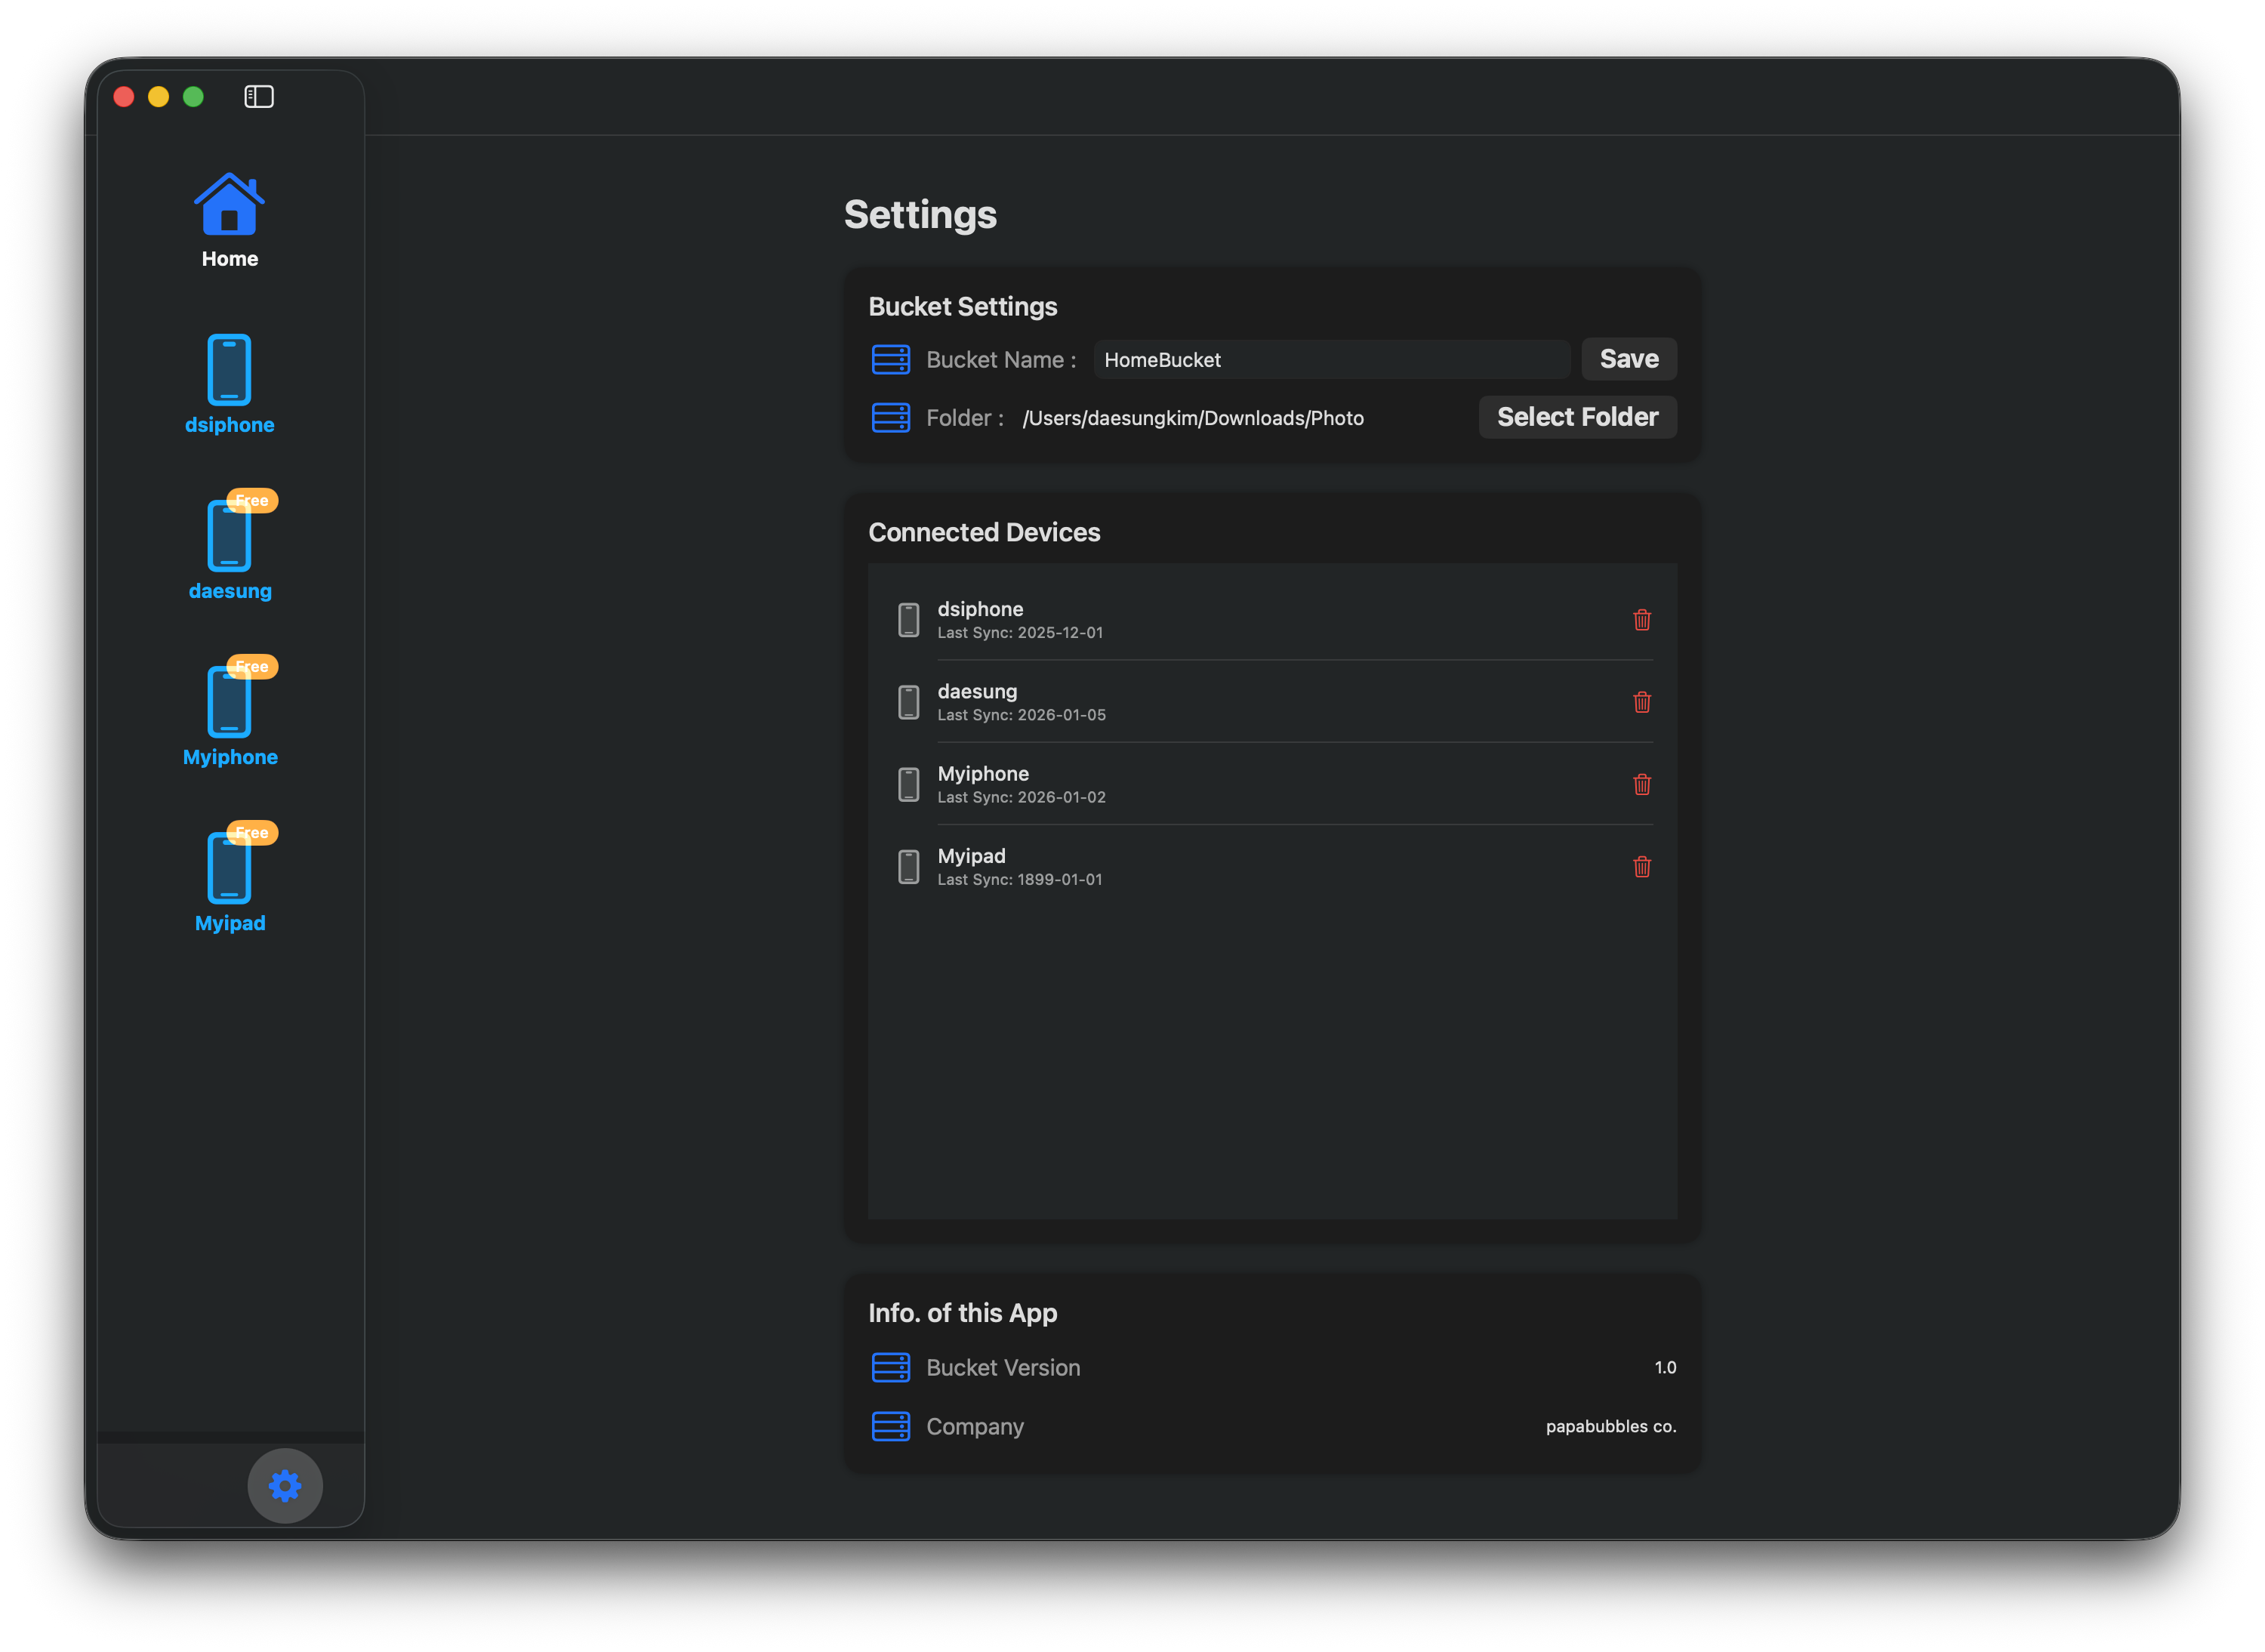
4.1.1 Select Folder
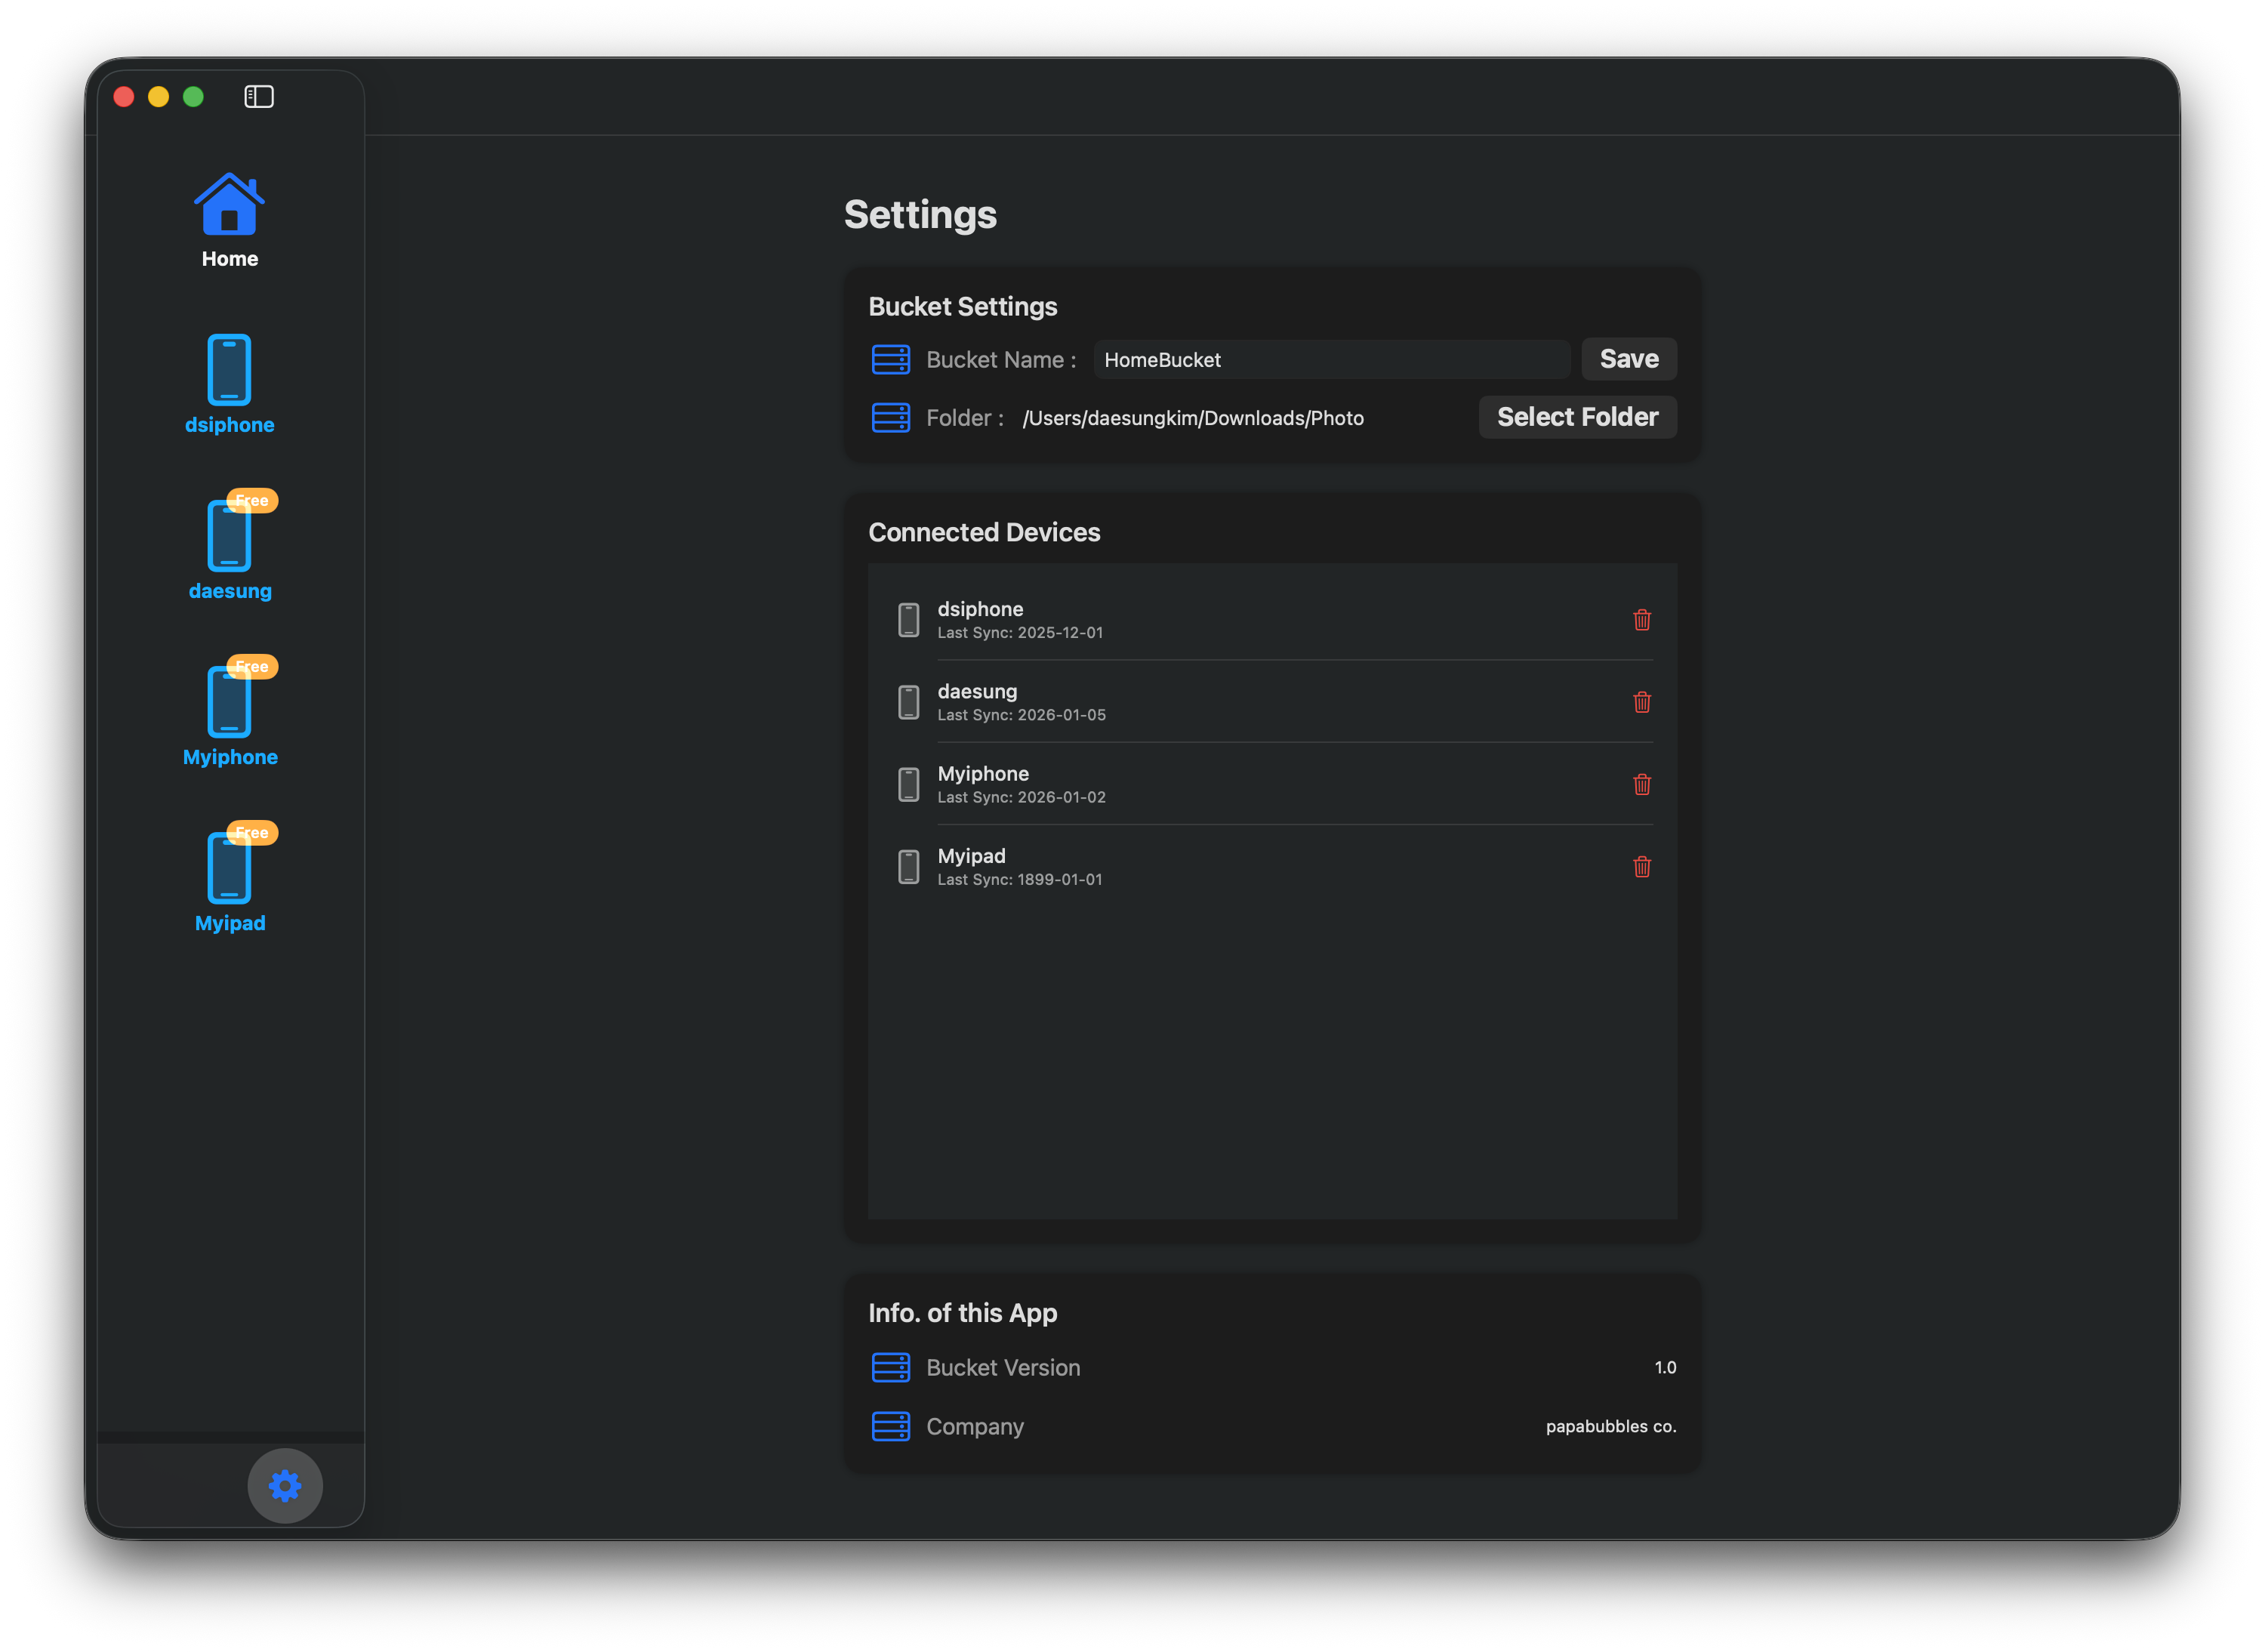
Click the 'Select Folder' button in the settings menu to specify the path where backed-up photos will be saved.
4.1.2 Name Bucket
Enter the name that will be displayed when searching for your Computer from mobile. (e.g., HomeBucket, MacBucket)
5. Step 3 & 4: App Interface & Settings Detail
We provide an optimized dashboard so users can intuitively grasp the current storage status.
5.1 Mobile App Interface (Mobile UI)
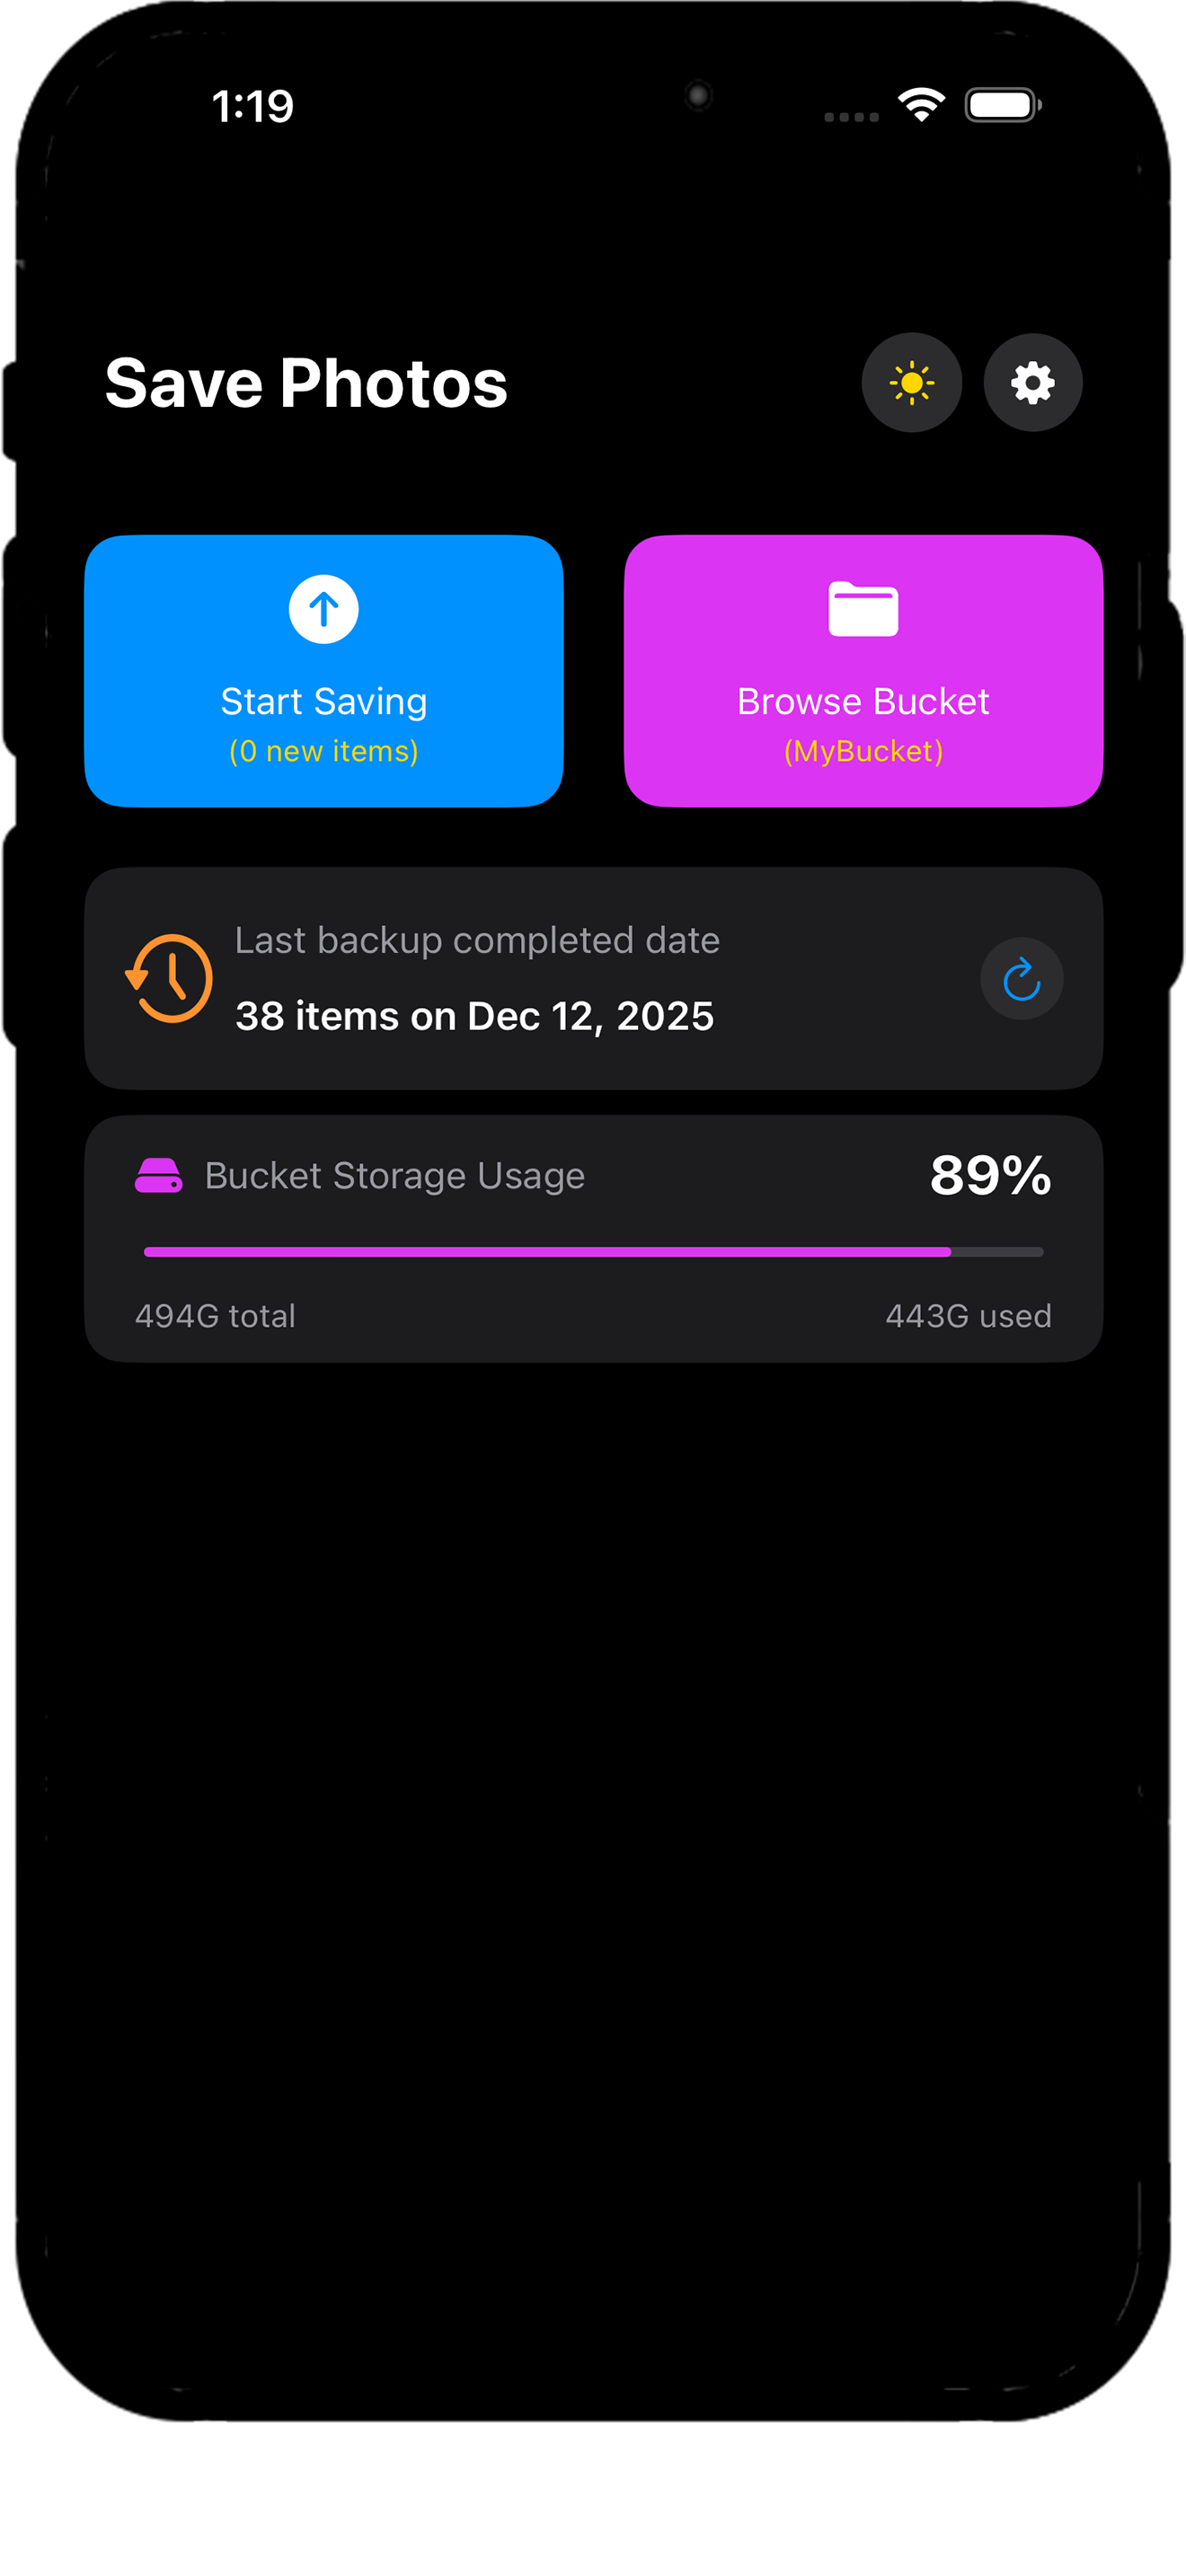
5.1.1 Main Dashboard
- Start Saving: Start backing up new photos. (Displays number of pending items at bottom)
- Browse Bucket: Browse photos stored on the currently connected Computer by date.
- Status Info: Visually displays last backup date and usage out of total capacity (e.g., 97%).
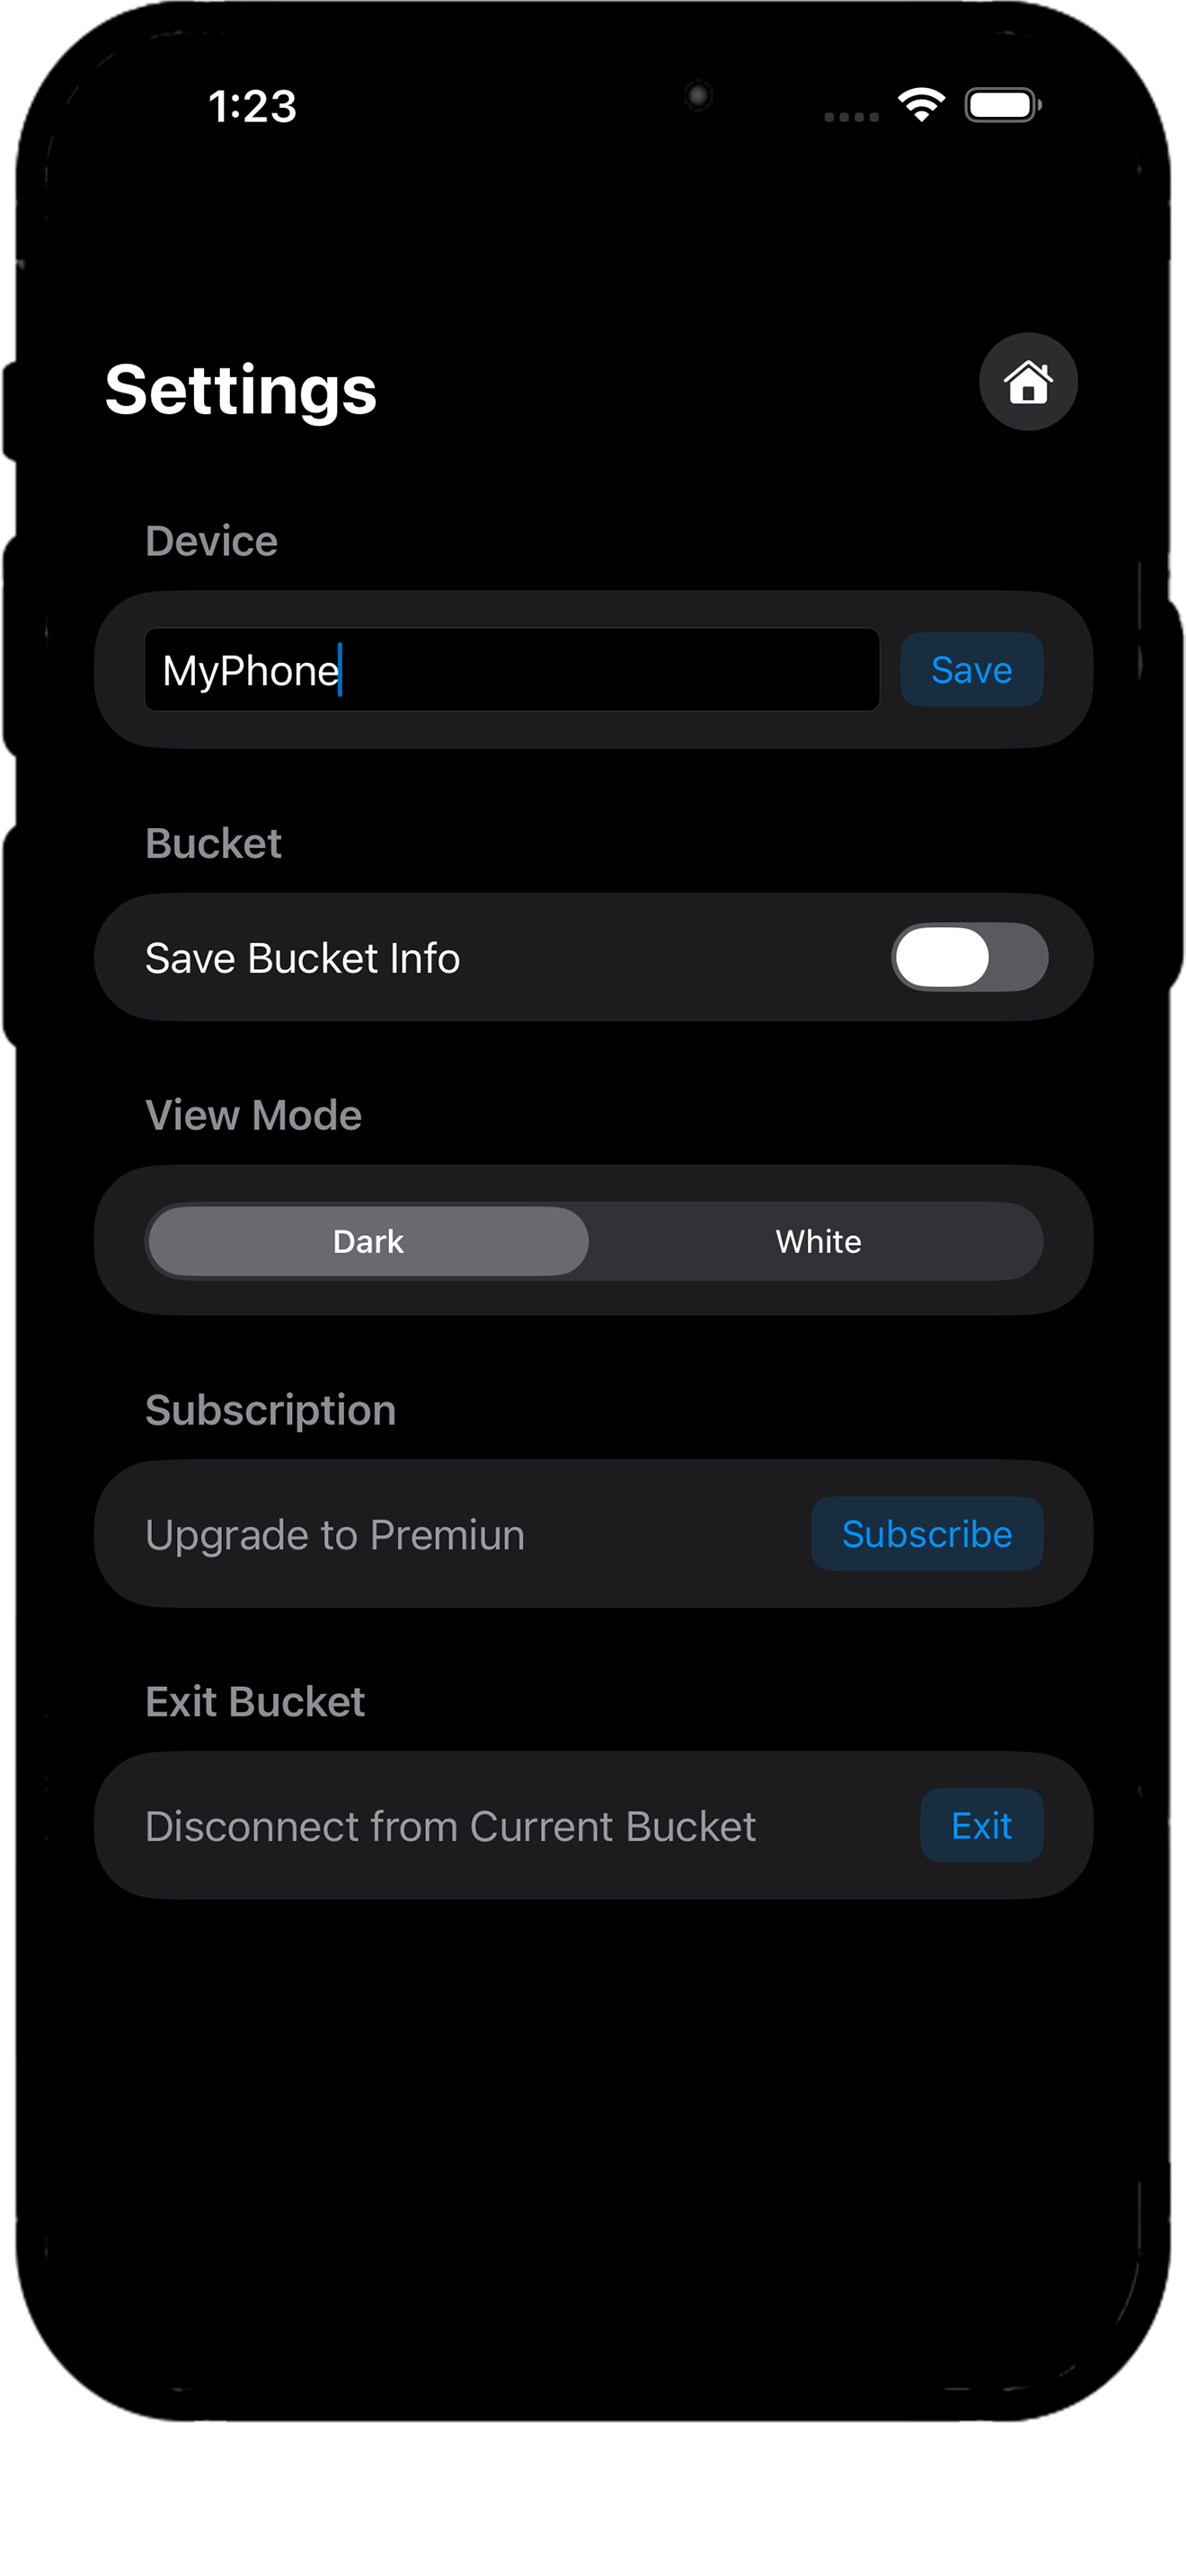
5.1.2 Settings Menu
- Device Name: Change my device name.
- View Mode: Switch between Light/Dark mode.
- Exit Bucket: Immediately disconnect from Computer.
5.2 Windows/Mac App Interface
5.2.1 HomeBucket Screen
- Devices: Displays number of connected devices. Free plan shows "(3 Free Devices)", meaning up to 3 devices can connect for free.
- Storage: Check total storage status. (e.g., 421G of 494G)
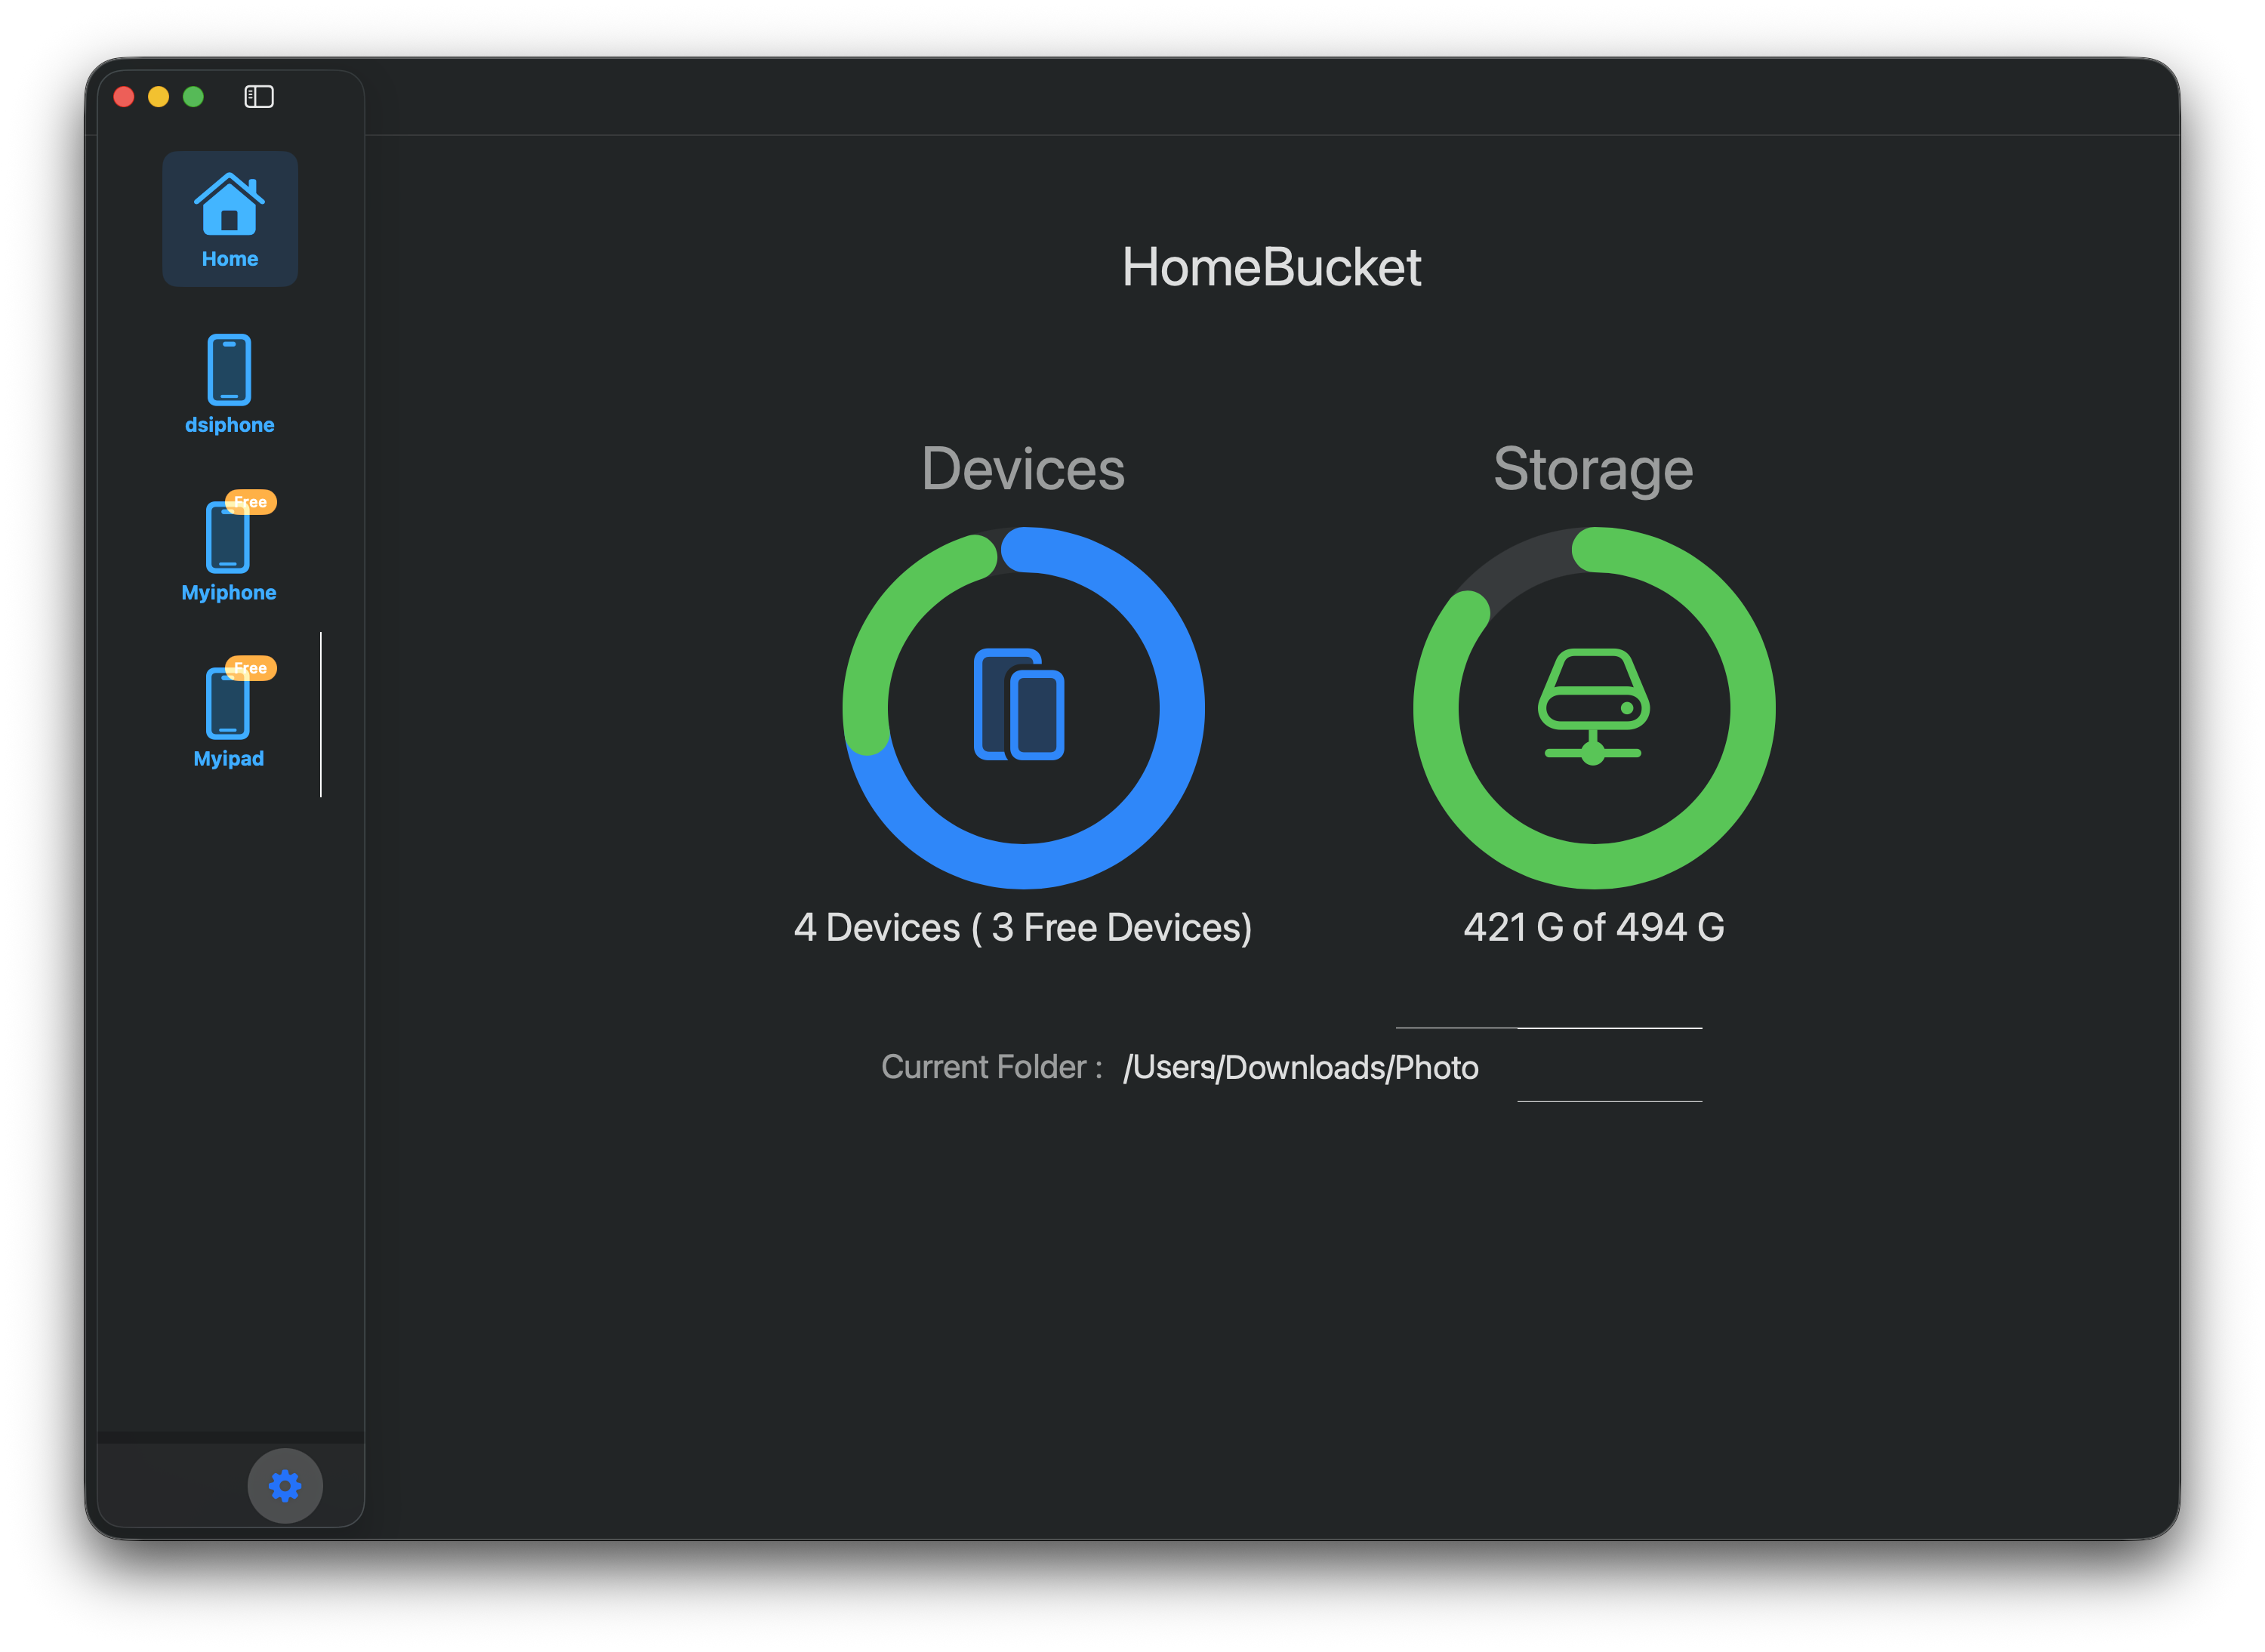
5.2.2 Sidebar & App Info
- You can check the list of currently connected devices (dsiphone, Myipad, etc.) in the left sidebar.
- Clicking the gear icon at the bottom reveals 'Info of this App' where you can check app version (v1.0) and developer (papabubbles co.) info.
6. Step 5: Connection & Practical Usage Guide
PicBucket's strength lies in its intelligent connection where devices automatically find each other without complex settings.
6.1 Bucket Connection & Convenience Features
6.1.1 Search Bucket
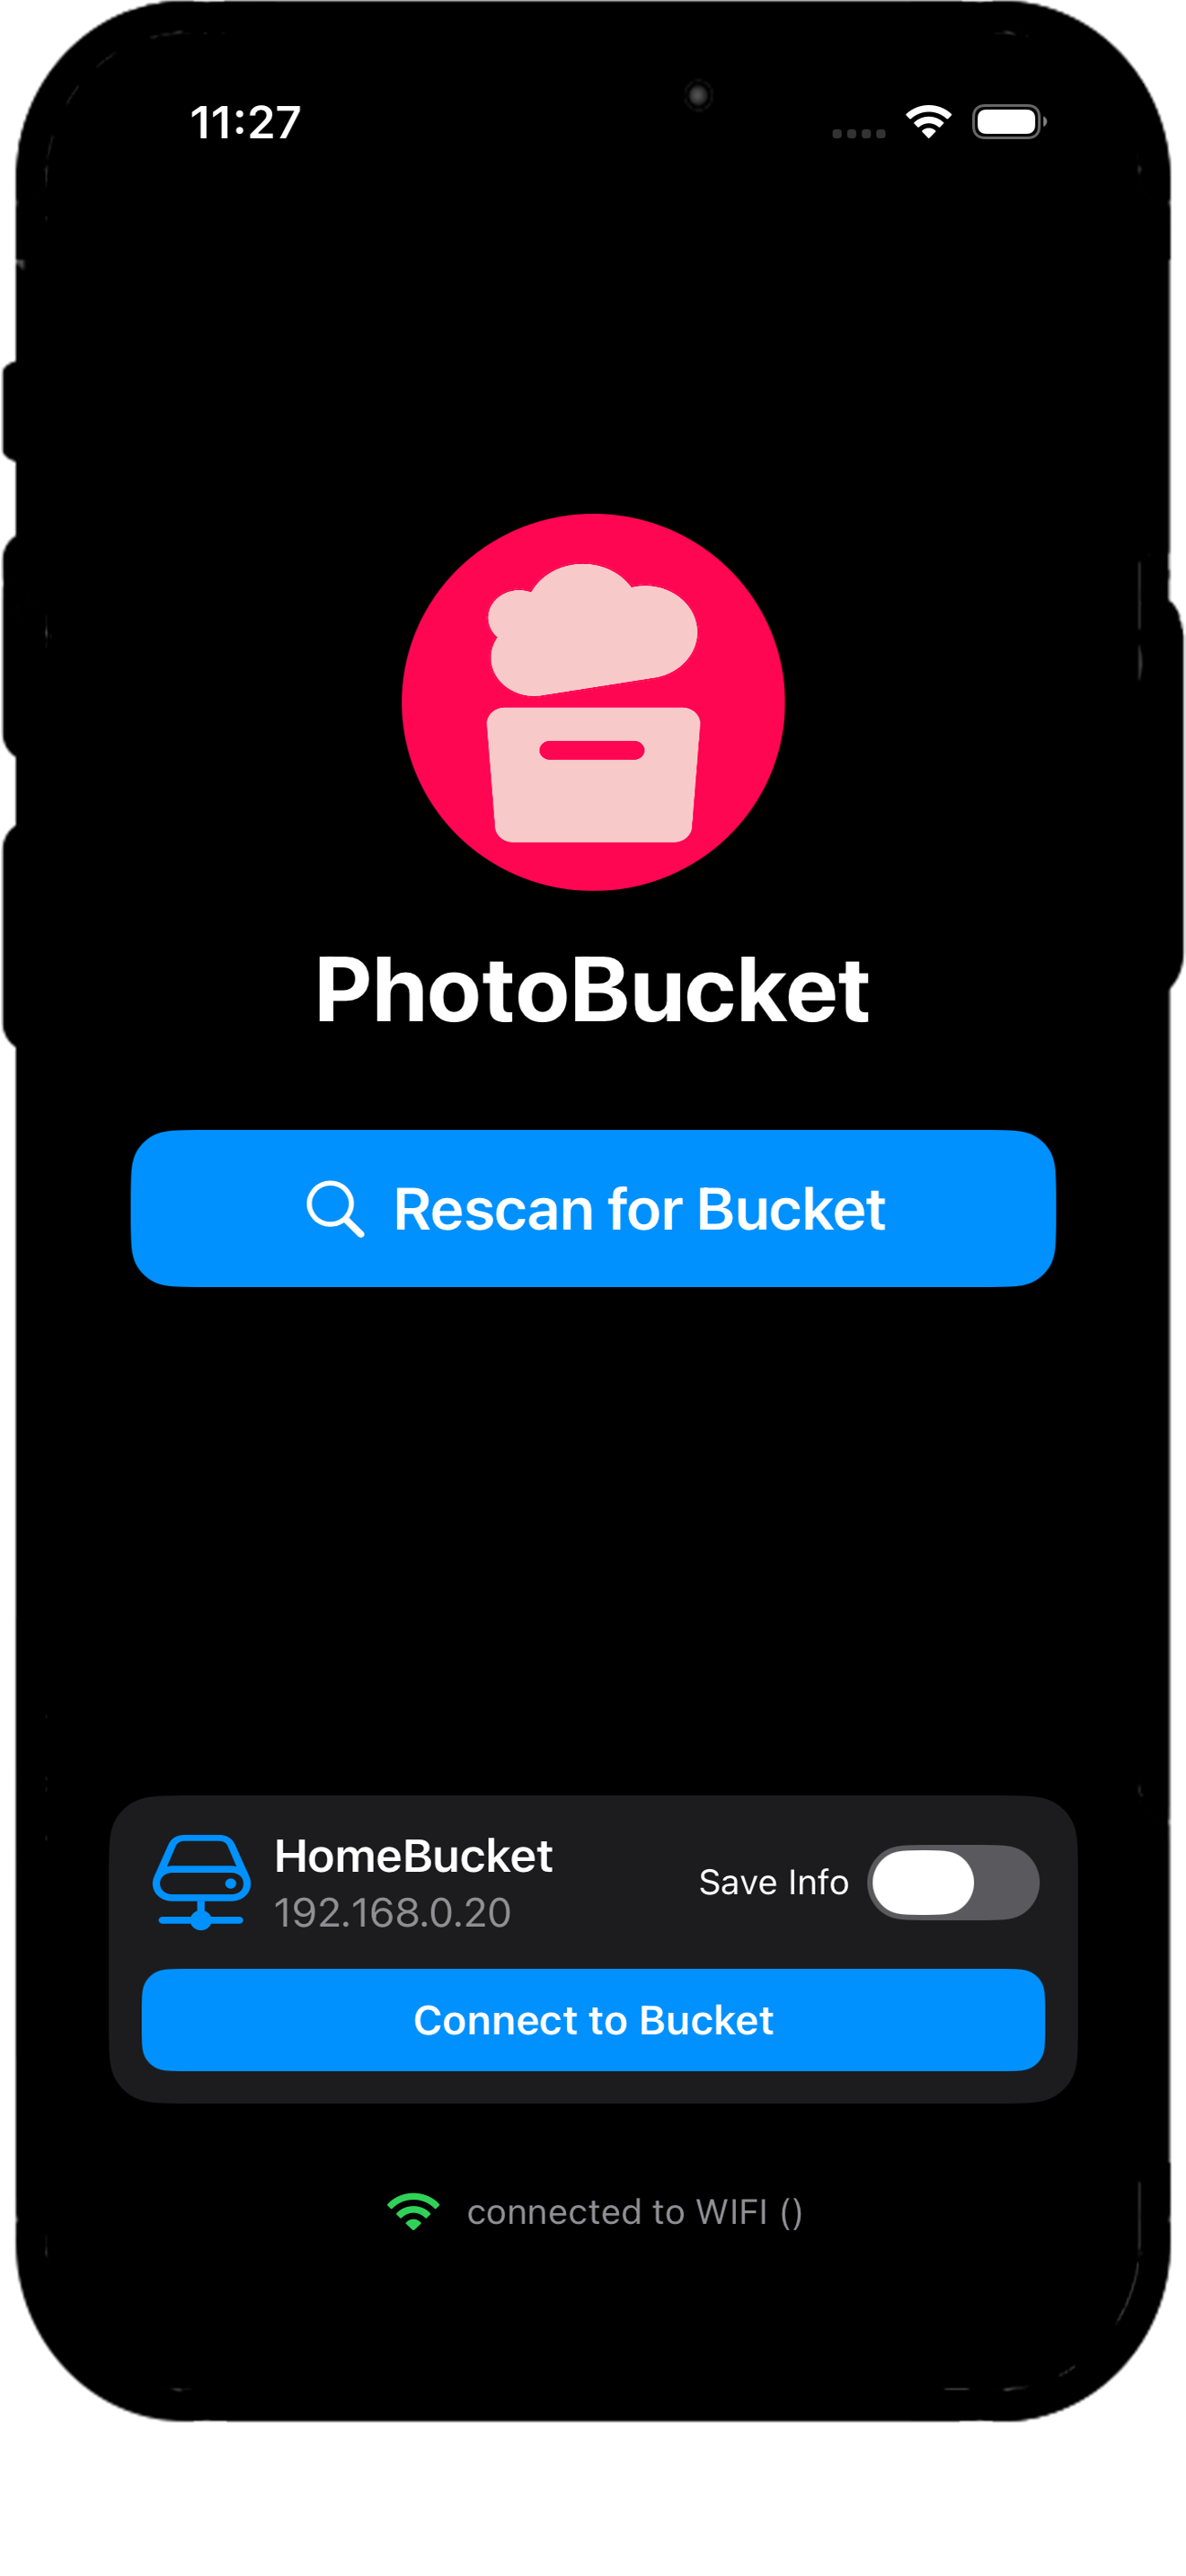
Press 'Rescan for Bucket' on mobile to search for nearby Computer. The number displayed (e.g., 192.168.1.140) is the 'IP Address', which can be understood as your Computer's unique 'digital home address' on the network.
6.1.2 Save Info Toggle (Expert Recommendation)
If you turn on the 'Save Info' switch on the connection screen, it will automatically remember the Computer next time without searching, dramatically improving connection speed.
6.2 Photo Backup & Browsing

6.2.1 Start Saving
Click the button to start photo transfer. Upon completion, detailed results like '6 items on Jan 2, 2026' are updated on the dashboard.
6.2.2 File Browsing
Select 'Browse Bucket' to view folders automatically sorted by Year (2009, 2011, 2012, etc.), and enter to see photos in grid view.
6.3 Connected Device Management
In the Windows/Mac app's 'Connected Devices' list, you can check the Last Sync time for each device. Devices no longer in use can be safely removed by clicking the trash icon on the right.
7. Step 6: Subscription & Premium Benefits
We operate a premium plan for users who want more powerful backup functions and original quality preservation.
7.1 Plan Comparison
| Feature | Free Plan | Premium Plan |
|---|---|---|
| Backup Quality | Small Size | Original Quality |
| Video Support | Not Supported | Video Backup Supported |
7.2 Subscription & Payment Info
- Personal Plan: $1.99/month, $19.99/year (USD)
- Family Plan (iOS only): Can be shared by unlimited family members. $5.99/month, $59.99/year (USD)